The installation of Kali Linux is a bit difficult for new users. So in this article, we help you to install Kali Linux version 2.0 on VMWare. The Kali Linux is a Debian-derived Linux distribution designed for digital forensics and penetration testing.
The first thing you need to install VMware on your computer and create a Virtual Machine for Kali Linux then set up a Penetration Testing Lab.
The second step is to download the latest version of Kali Linux for you Pentest Lab.
How to Install Kali Linux On VMWare?
Now I assume that you have installed VMWare, created a virtual machine and the Kali Linux image downloaded successfully. So you are ready to install Kali Linux.
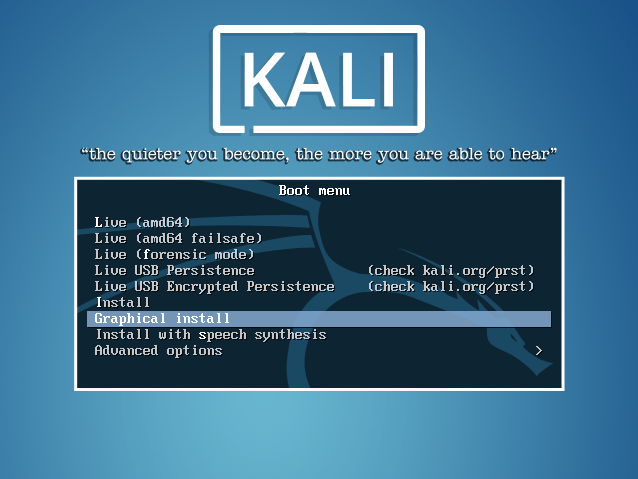
- Open the VMWare and run the Kali Linux virtual machine to boot the Kali.
2. Select Graphical Install from Boot menu with arrow keys and press enter.
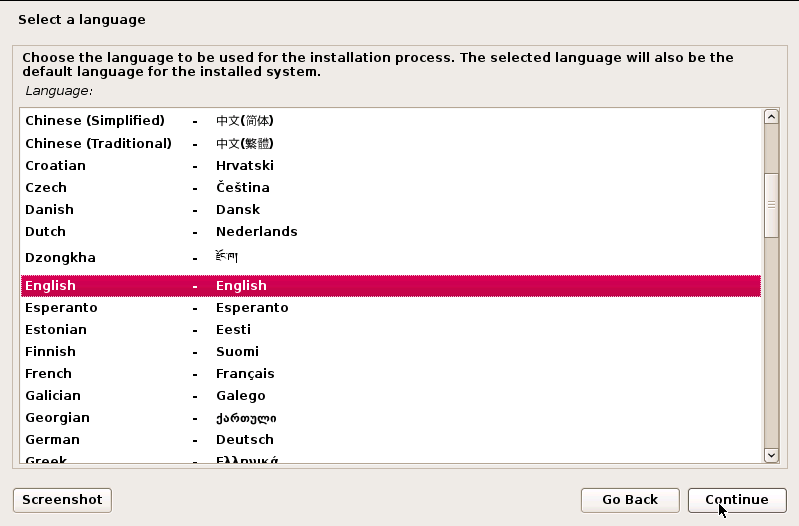
3. Choose your system language and click Continue or press enter.
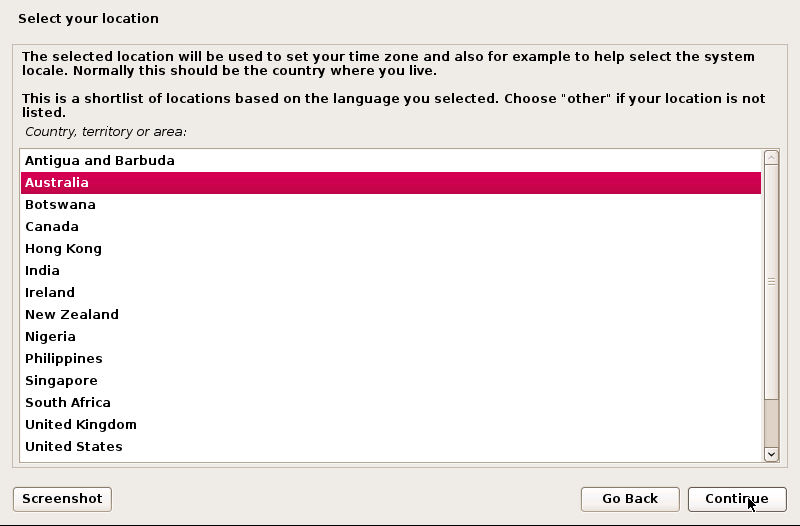
4. Select your location for local page and click Continue.
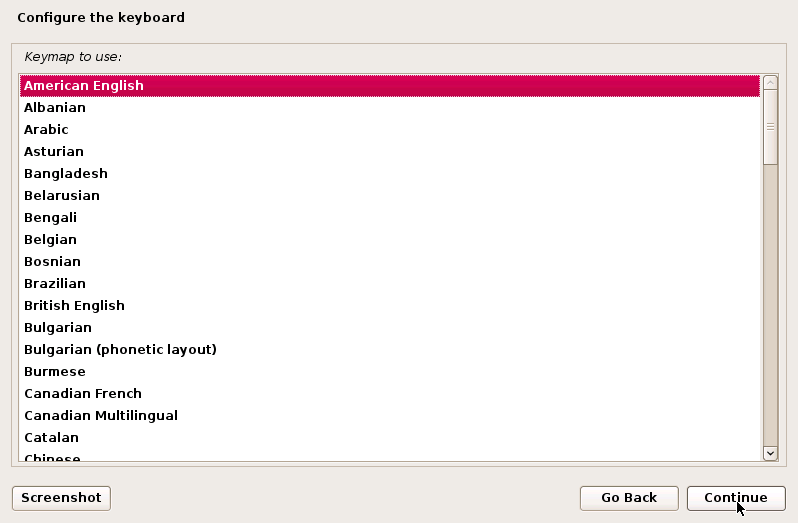
5. Select American English from Configure the Keyboard page or what keyboard standard you are using then click Continue.
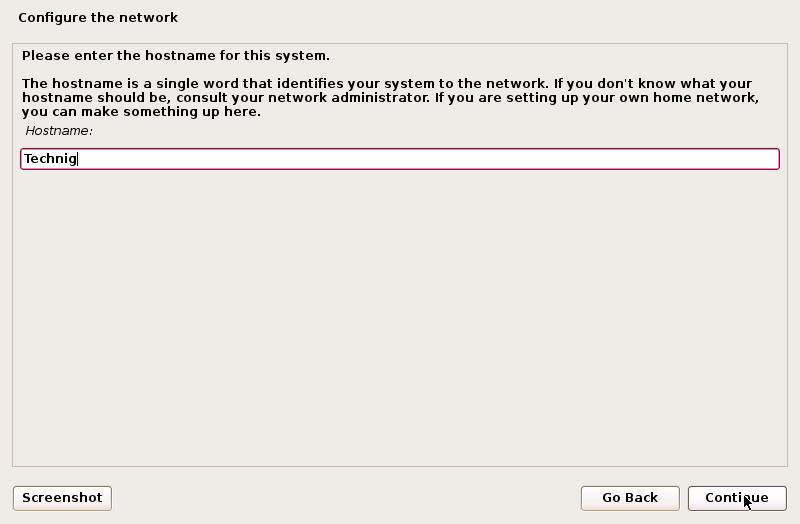
6. From the Configure the Network page, type your hostname and click Continue.
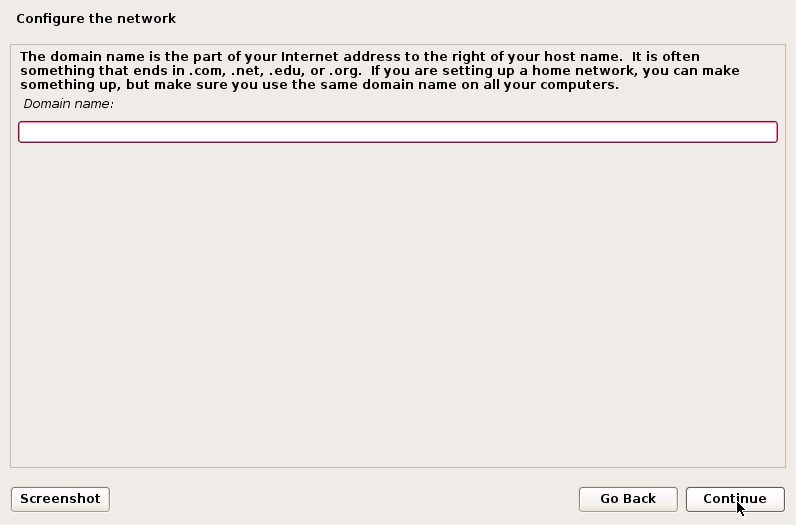
7. Leave the Domain name empty and click Continue if you don’t have a directory server.
8. Set a password for the root user and click Continue. Don’t forget the password. If you forgot the password read the Reset Kali Linux Password topic.
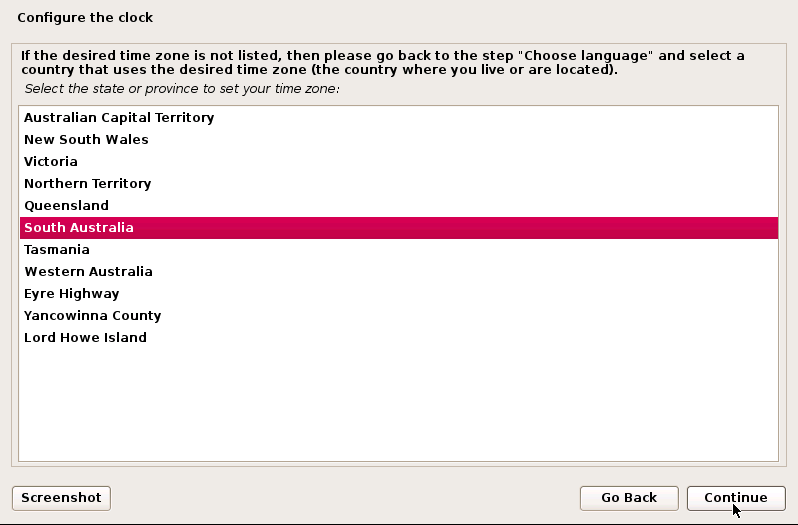
9. Select the time zone of your location from Configure the Clock page then click Continue.
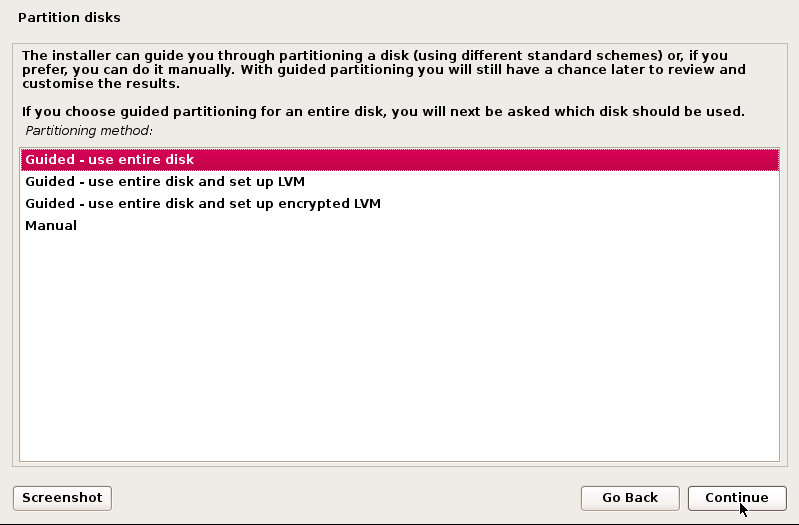
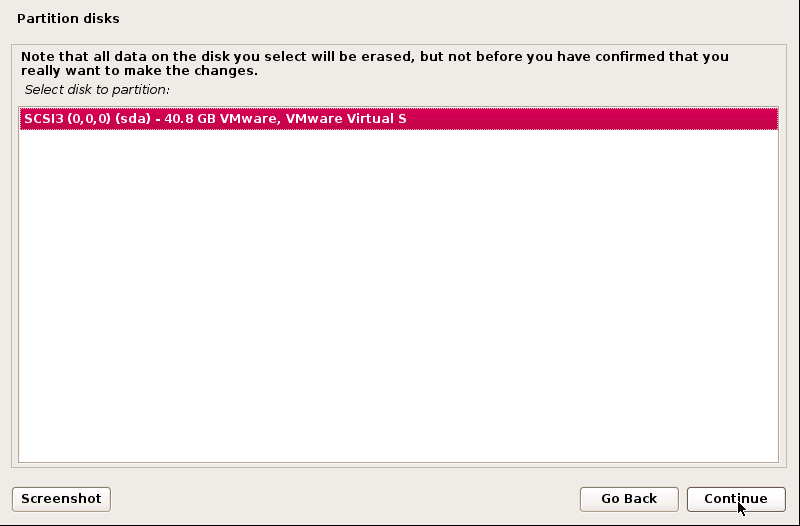
10. On the Partition Disks page, select Guided-use entire disk then click Continue.
11. On the above screen do nothing and click Continue.
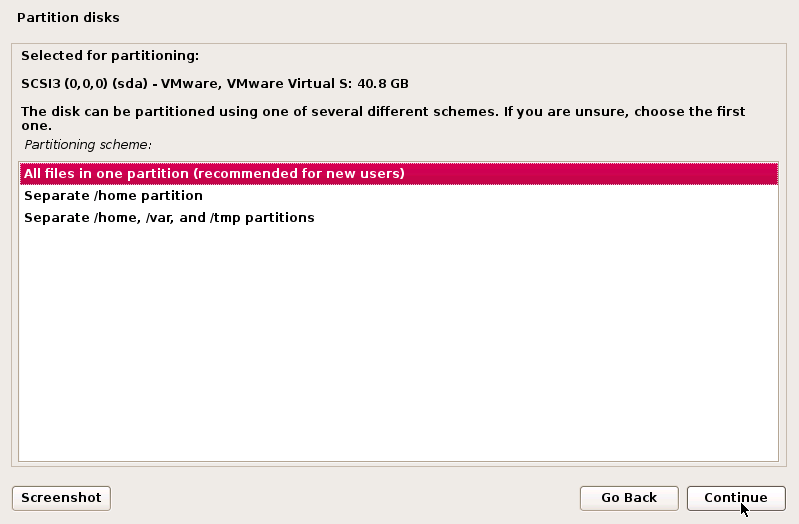
12. Select All files in one partition (recommended for new users) and then click Continue.
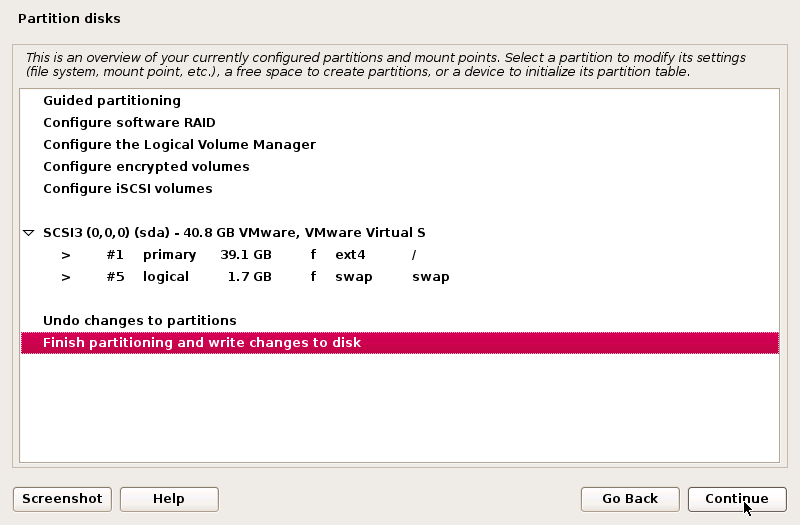
13. Select Finish partition and write changes to disk then click Continue to apply the changes for partitioning the hard disk.
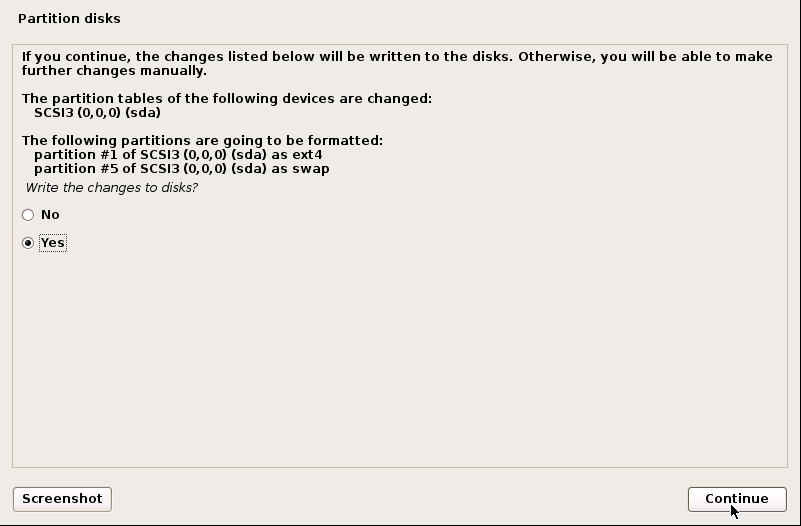
14. Finally, select Yes the click Continue to implement the changes.
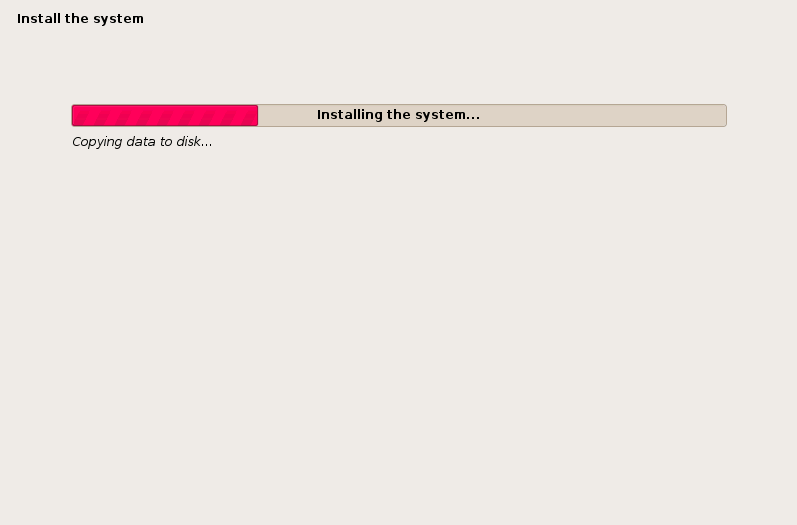
It takes time to finish the installation, so be patient and drink a cup of tea. 😉
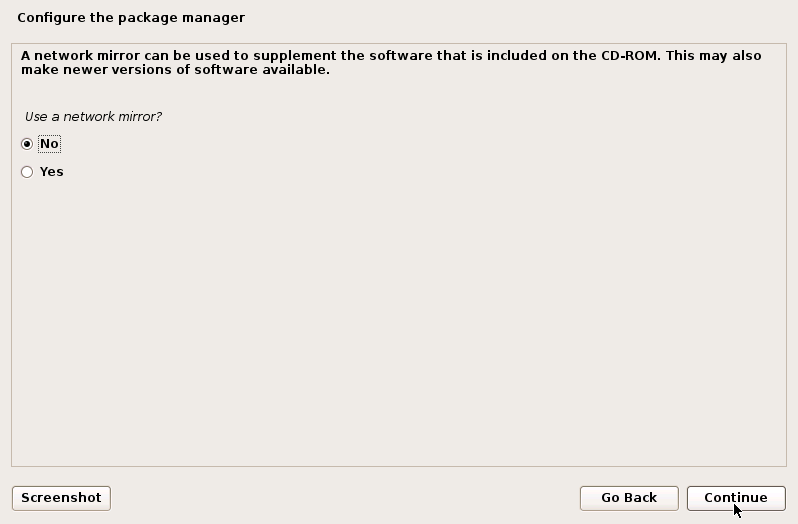
15. For Configure the package manager selects No and click Continue.
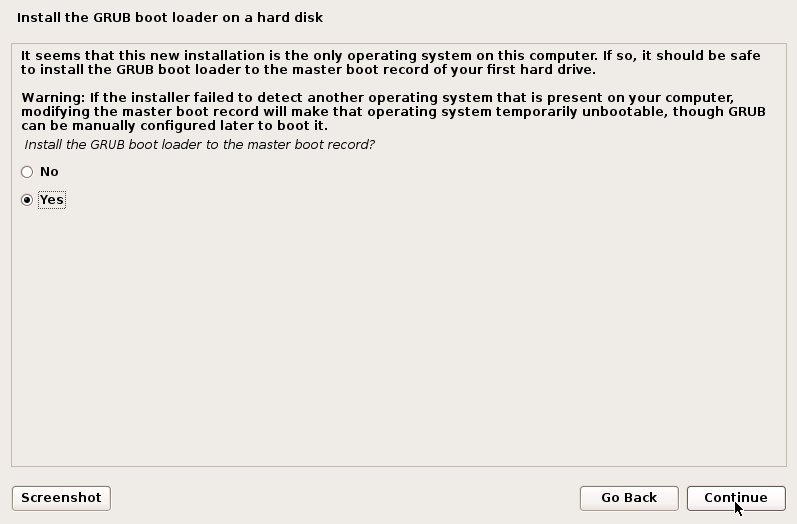
16. Select Yes to install the GRUB boot loader on a hard disk and click Continue.
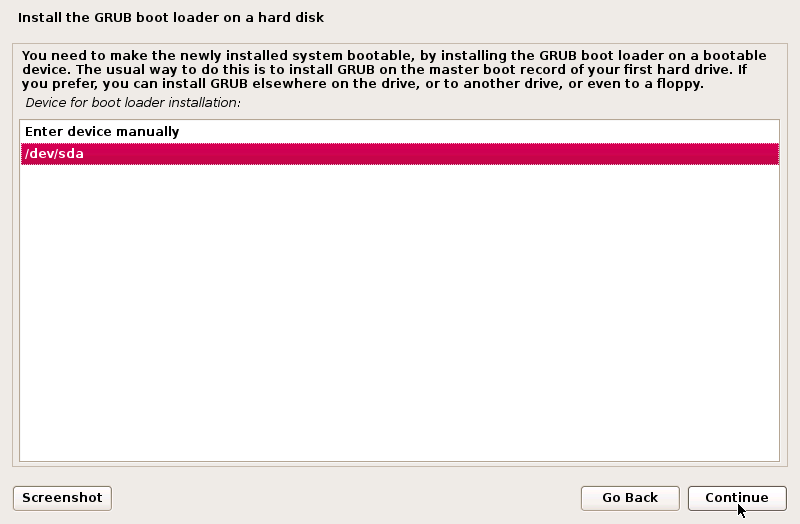
17. On the Install, the GRUB boot loader on a hard disk page select /dev/sda then clicks Continue.
18. Finally, the installation has finished successfully. Click Continue.
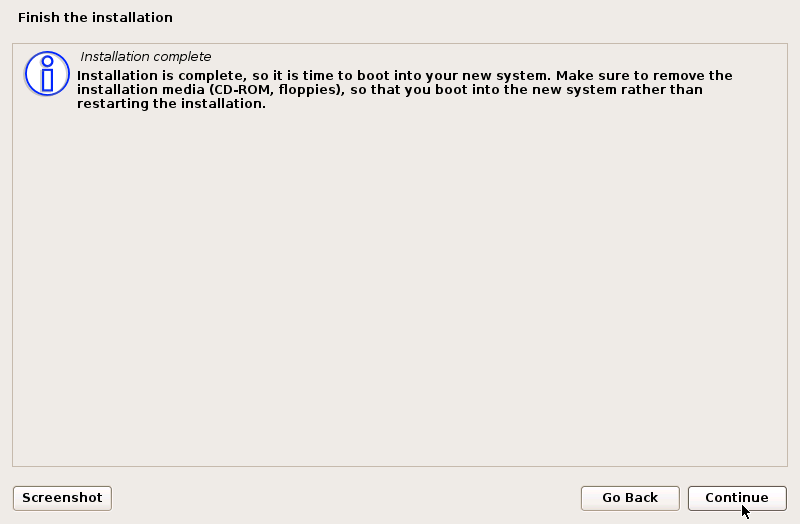
The system will reboot and log in as root user and password you have entered.
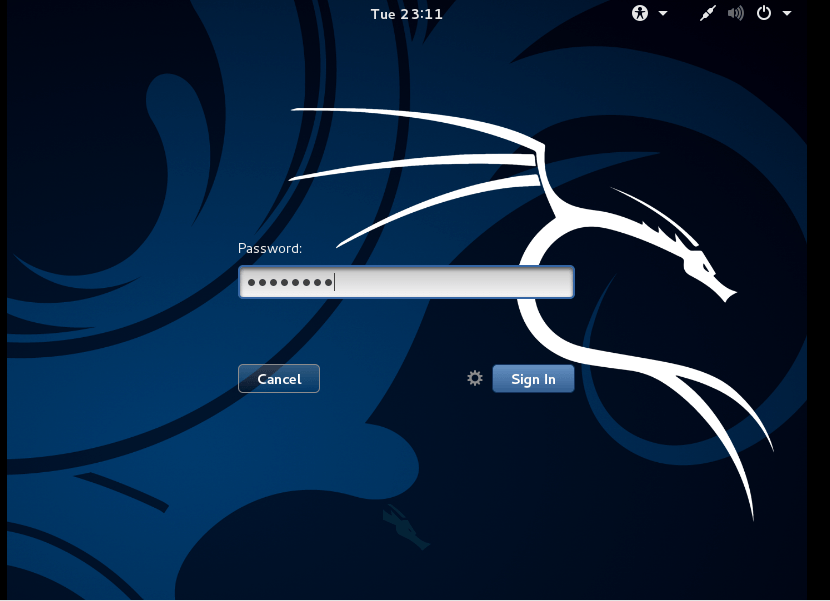
Yes, welcome to Kali Linux v2.0.
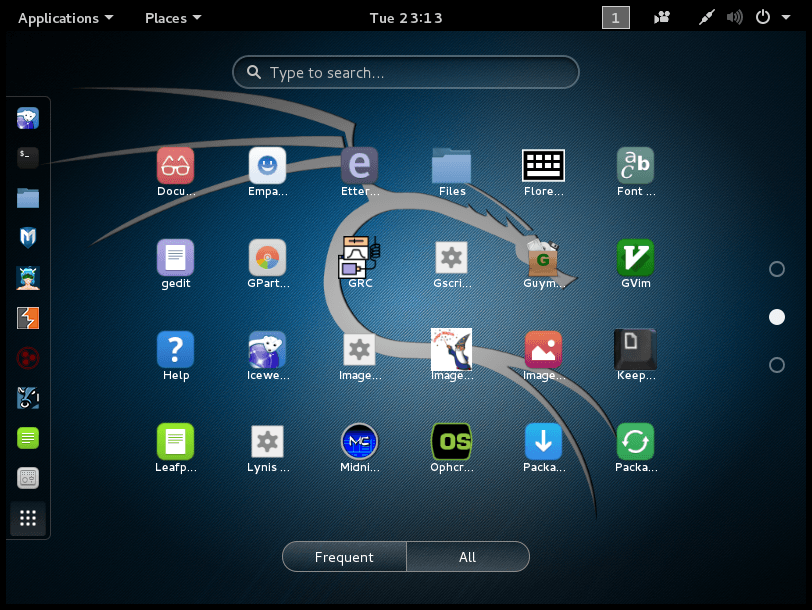
That’s all. Hope you can install Kali Linux without any problems.
This is excellent training..!