The step by step guide to Install Active Directory in Windows Server 2012 and 2012 R2. Installation and configuration of AD DS in Windows Server 2012 R2 and Windows Server 2016 is bit different from earlier Windows Servers. Dcpromo.exe command has been removed and added some new features like metro, dashboard, and server manager with new style, but the core configuration and Installation is the same.
How to Install Active Directory?
So let’s start to install Active Directory rule and promote the server to Domain Controller.
1. Click the Server Manager to open it.
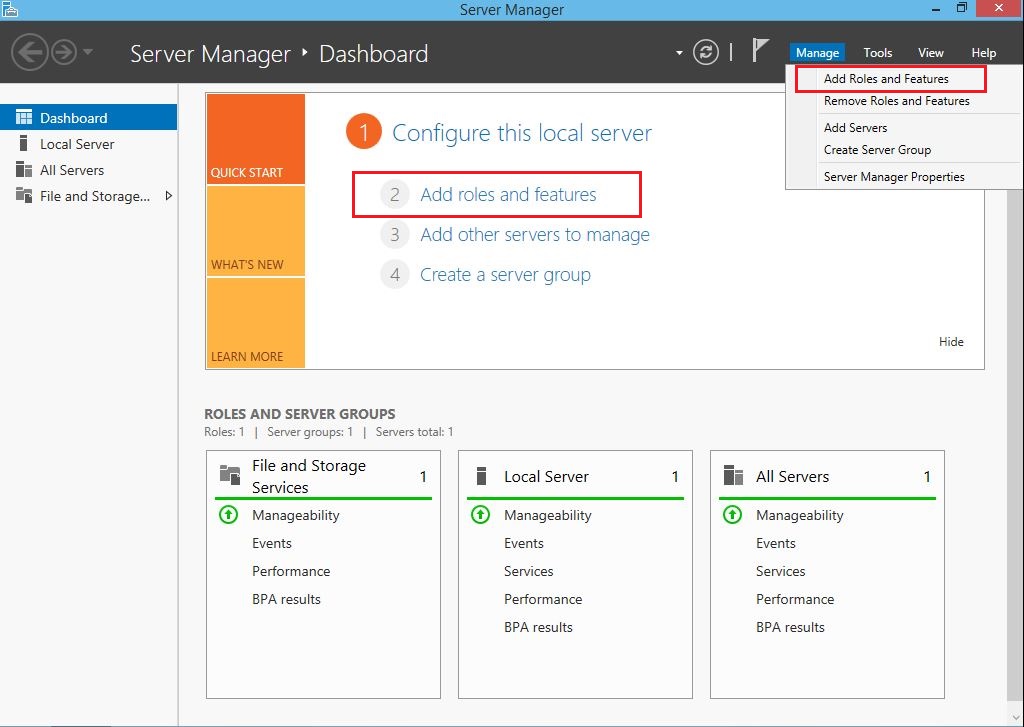
2. Here you see the Server manager dashboard. Now go to Manage tab and click Add Roles and Features.
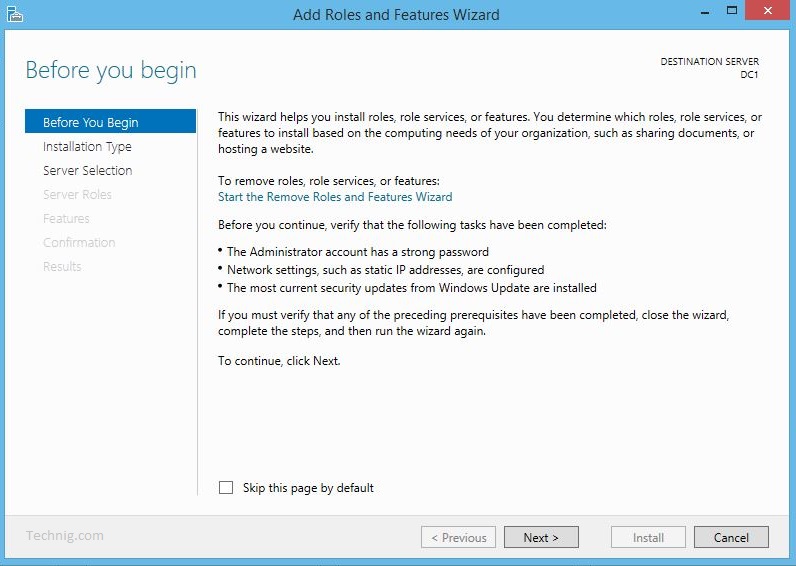
3. Just click Next in Add Roles and Features Wizard page.
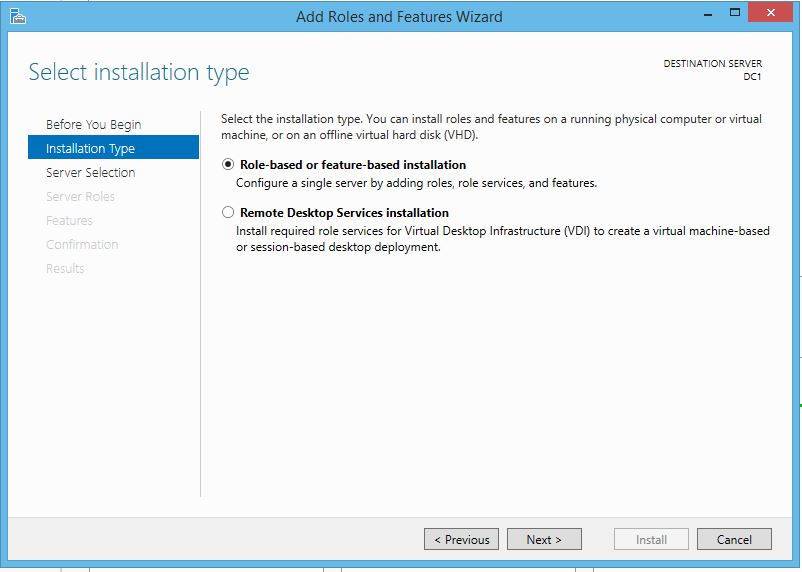
4. Let the default Role based or feature base installation has selected and click Next.
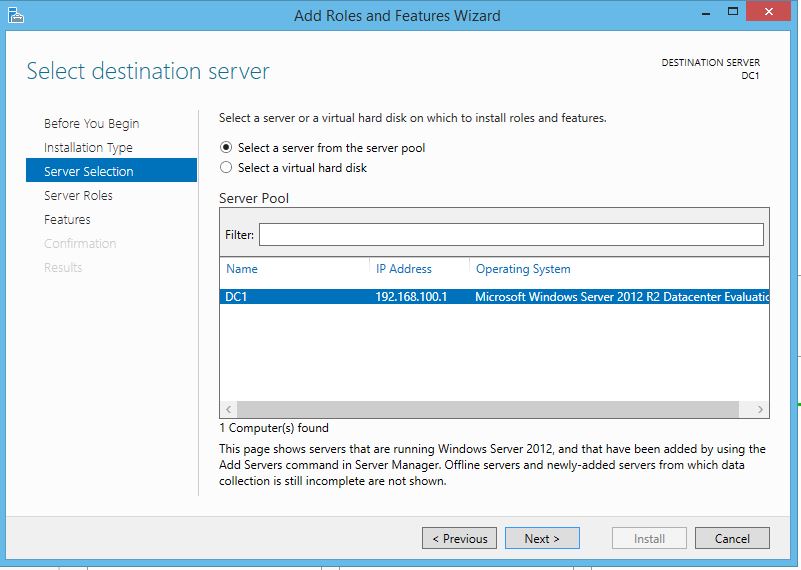
5. In the Select destination server page, select the server you want to install AD and click Next.
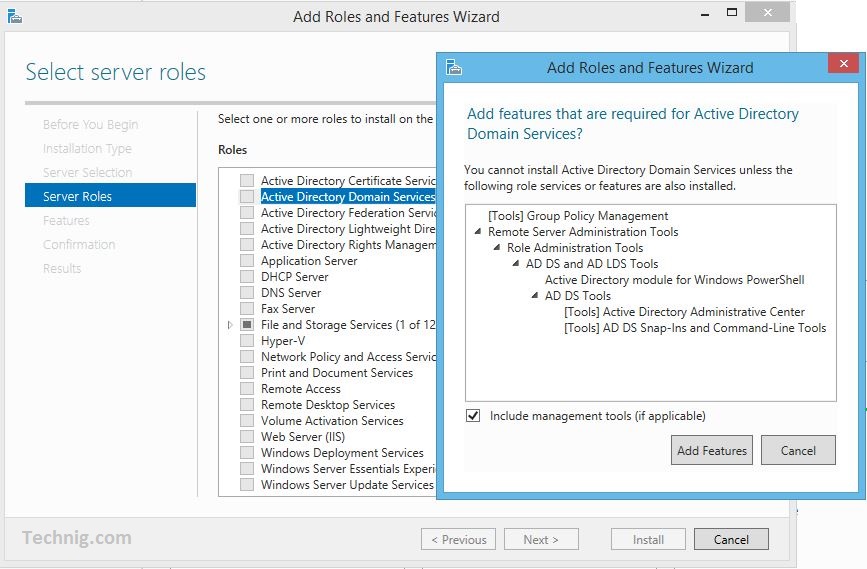
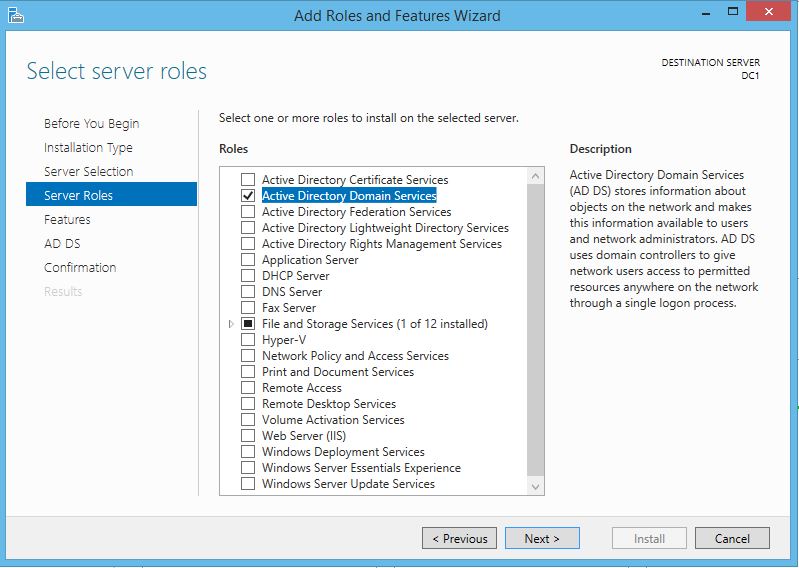
6. Now select the Active Directory Domain Services from Roles list in order to install it. When prompt to add the required features for Active Directory Domain Services within a new window, click Add Features.
7. Now the Active Directory Domain Services has been selected and ready to install. Just click Next.
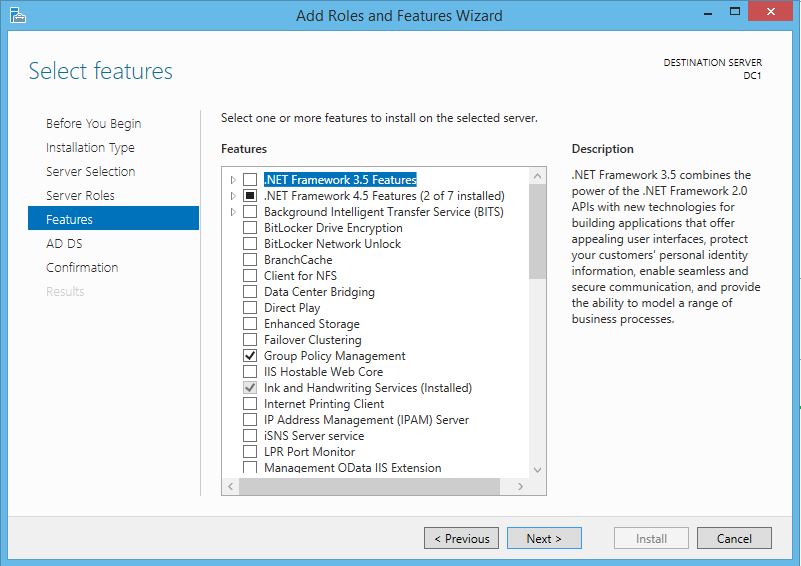
8. Leave the Windows Features page by default and click Next.
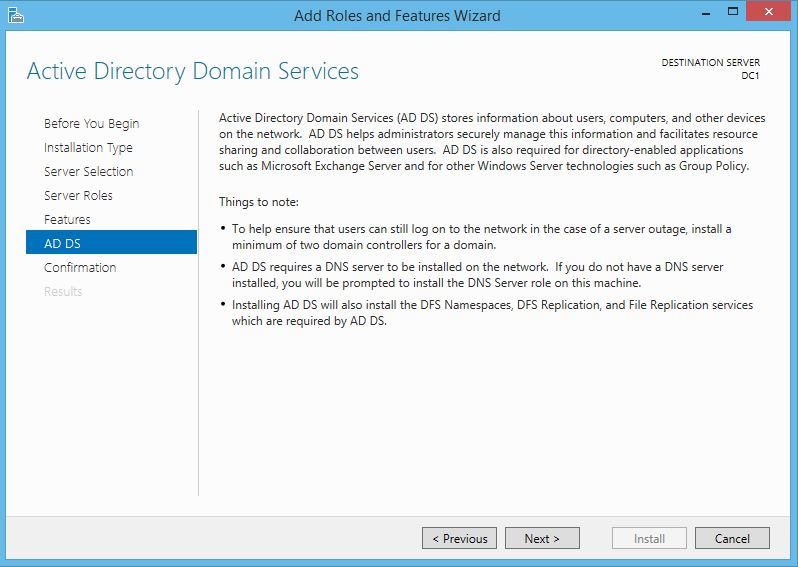
9. Now, you may need to read some information about Active Director domain service. In this page read once and click Next.
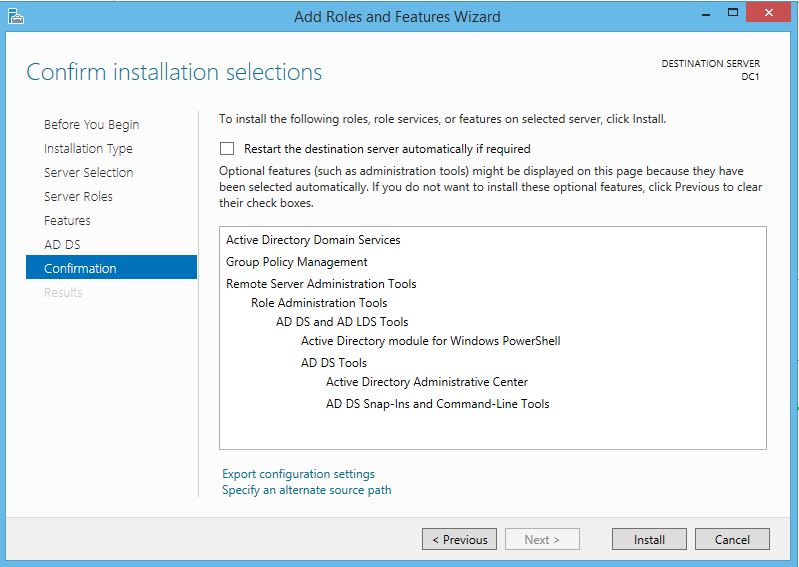
10. In the Confirm Installation selections page click Install to begin installation of AD DS.
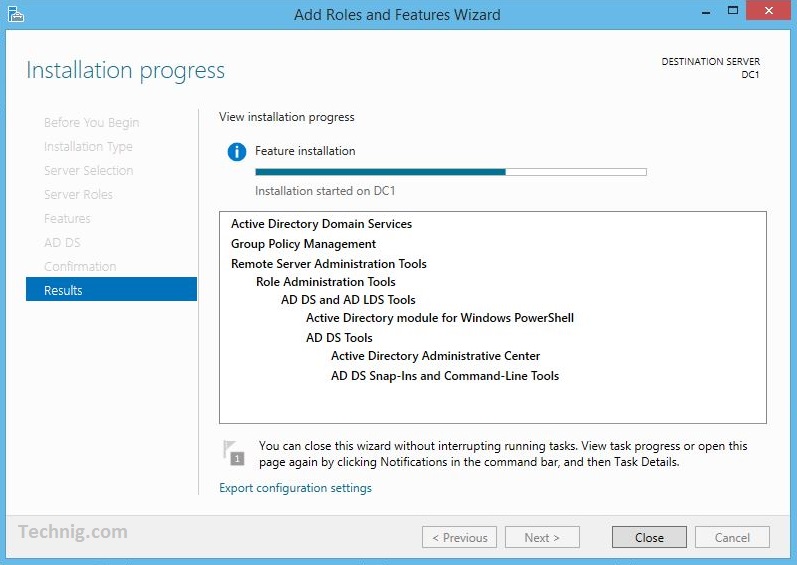
Be patient, the installation process will take a few minutes to complete.
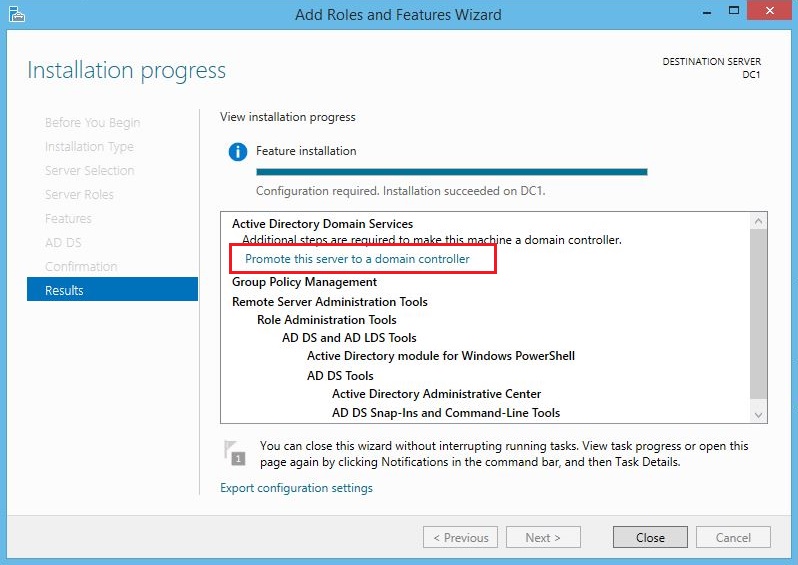
#2. Promote Server to Domain Controller
1. When the AD DS installation has complete. click the Promote this server to a domain controller.
2. The Active directory Deployment Configuration page will open.
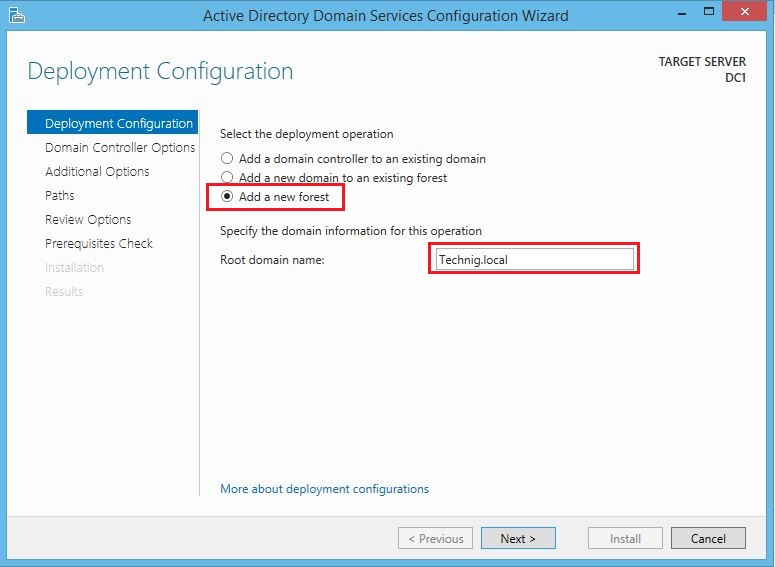
3. In this window select add a new forest and type your domain name in the Root domain name field then click Next. I have chose the domain name Technig.local.
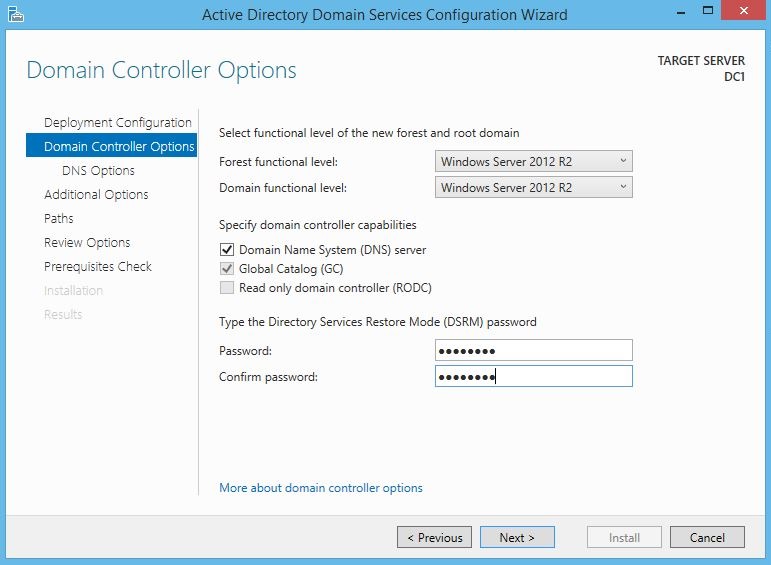
4. Leave the Domain Controller Options by default, just type and password for Directory services restore mode (DRSM) password and click Next.
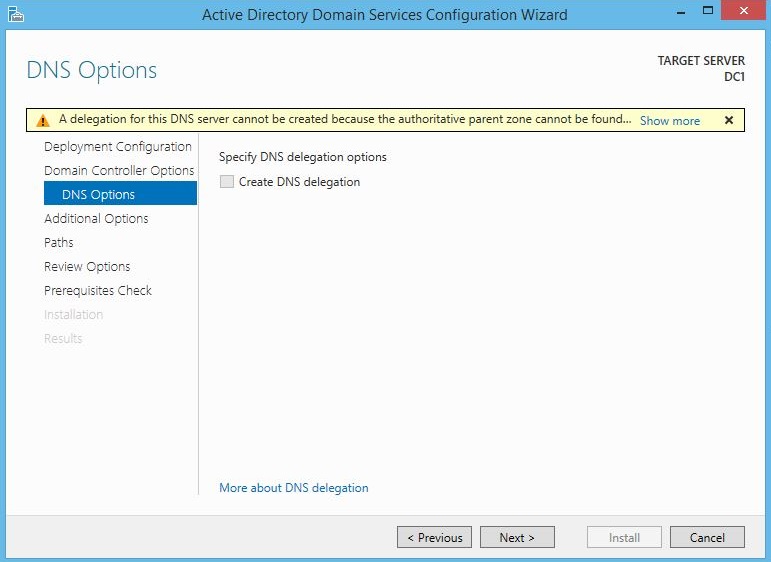
5. Ignore the delegation for DNS server warning and click Next.
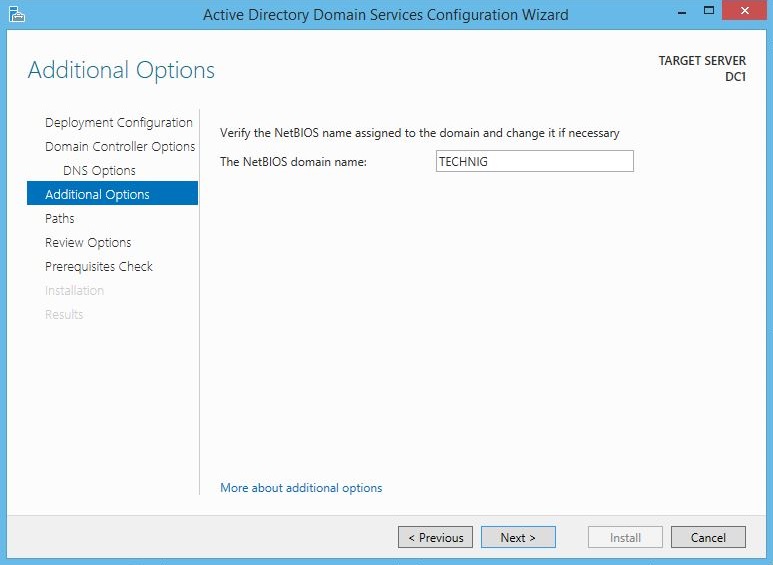
6. On the Additional Options, system will create a NetBIOS name according to your domain name. In this window do nothing and click Next.
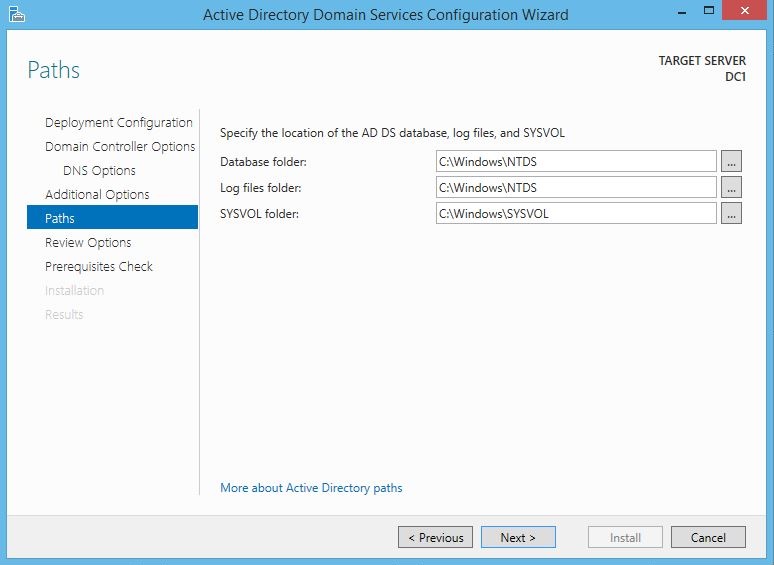
7. You can change the default directories for Database folder, Log files, and SYSVOL folder, but in test lab leave it by default and click Next.
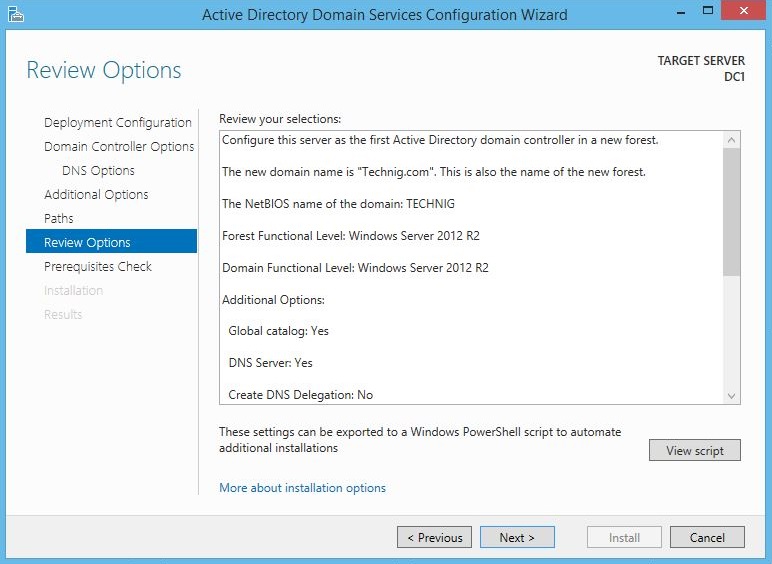
8. Finally on the Review Options page once check and review all option to insure and click Next.
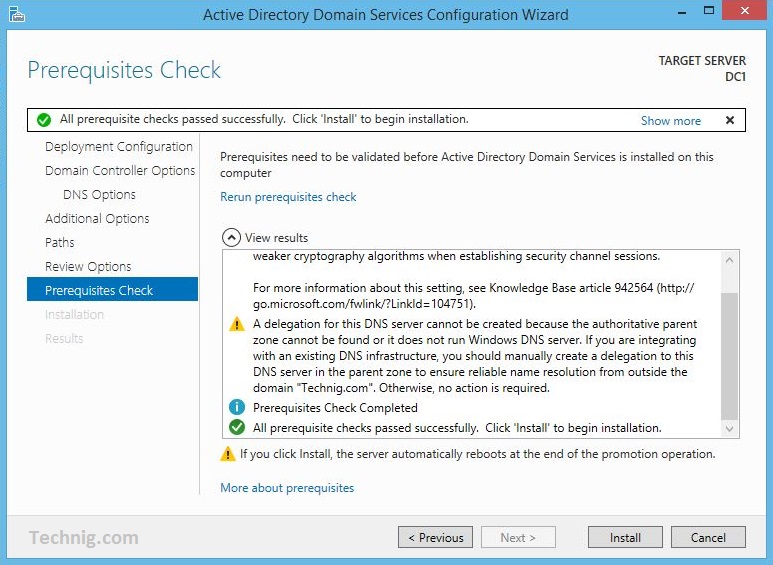
9. Once the system has checked prerequisites features for Active Directory, click Install and ignore the DNS delegation warning again.
System will restart automatically when the installation has complete successfully.
You will see the installed roles from Tools tab of Server Manager dashboard.
How to Install Active Directory on Windows Server 2016 – Video Tutorial
That’s all. Ask your question if you have any problem.
Great article!
well done dear sir this article also can be informative to each in every thing so great.