You may want to re-install Hyper-v server or Windows 10 that Hyper-v installed. But the Hyper-v virtual machines need to be remain. After installing new Hype-v Server, are able to import virtual machine to Hyper v server without installing new virtual machine.
Just do not delete all Hyper-v virtual machines when you reinstall Hyper-v server. Allwasy keep the hyper-v virtual machines on a separate drive. Never store virtual machines on operating system drive. Because when you want to change operating system, the Hyper-v will removed and the virtual machines with configuration will be remains. Next time you can simply import virtual machine to hyper-v server.
Import Virtual Machine to Hyper v Server
I have many virtual machines from preview Hyper-v. Now I want to import them to my new Hyper-v server. If you have the same case like, so install Hyper-v on new operating system and configure Hyper-v to get ready to host your virtual machines.
This article works on Hyper-v 2008 R2 server to Hyper-v server 2016. Just follow the same steps to import virtual machine to hyper-v server. If hyper v import virtual machine required permissions are missing, comment us the alert messages to help you.
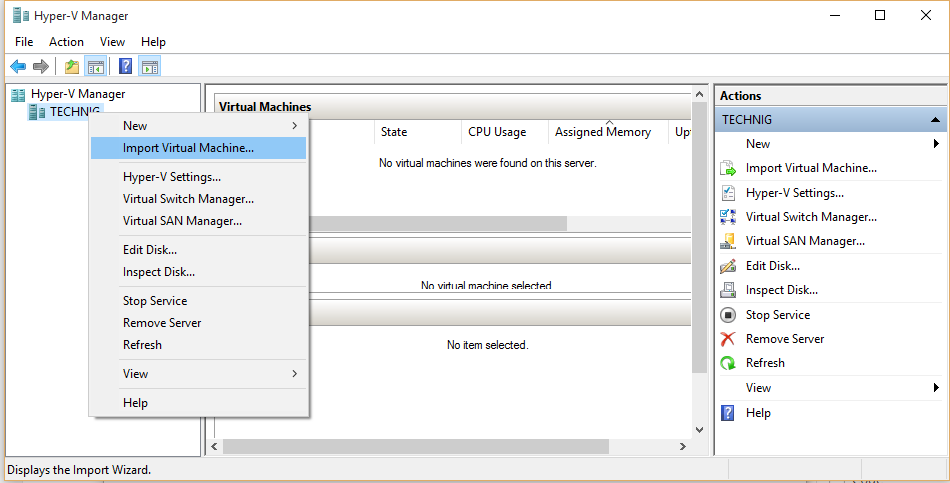
1. Open Hyper-v manager on Windows 10 or Windows server. Right click on Server name and select Import virtual machine to hyper-v.
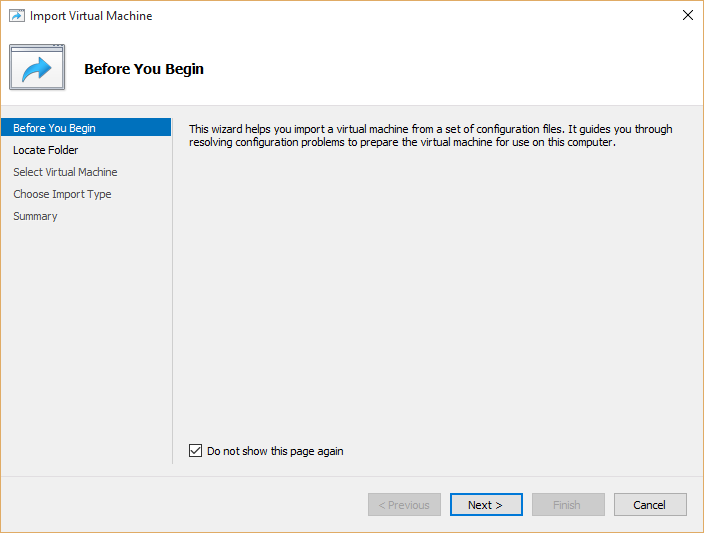
2. On the Before You Begin page, tick the Do not show this page again and click Next.
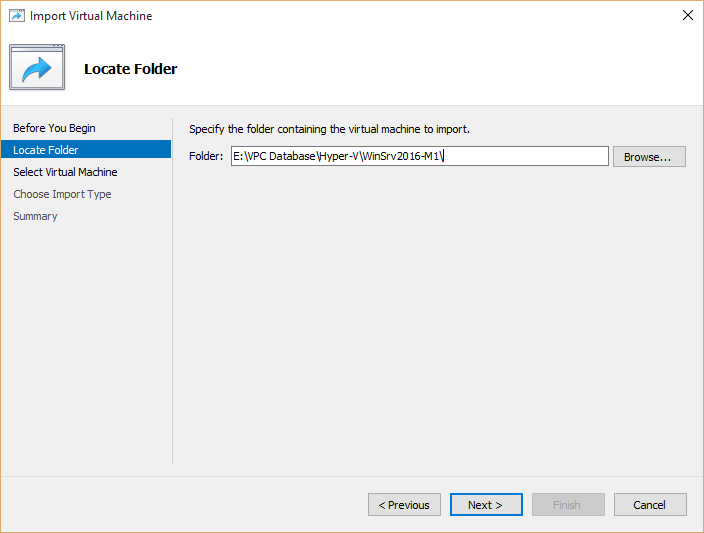
3. On Locate Folder window, click Browse and select the exact folder of a virtual machine. It’s important to choose the exact and right folder of the virtual machine you want to import on Hyper-v. If the directory will not be correct, it issue some errors relevant to incorrect virtual machine directory.
4. Select virtual machine and click Next. When you have more than one virtual machine files in a folder, it will shows both virtual machines. You should select one and import them one by one.

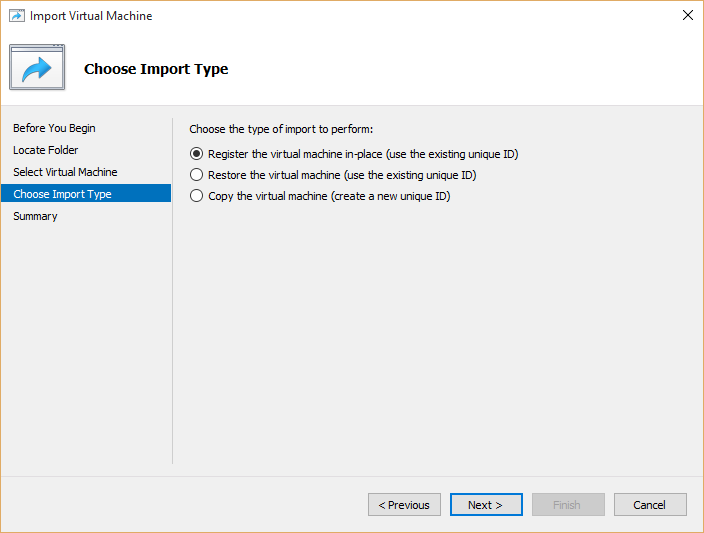
5. Simply select Register the virtual machines in-place (use the existing unique ID) and click Next.
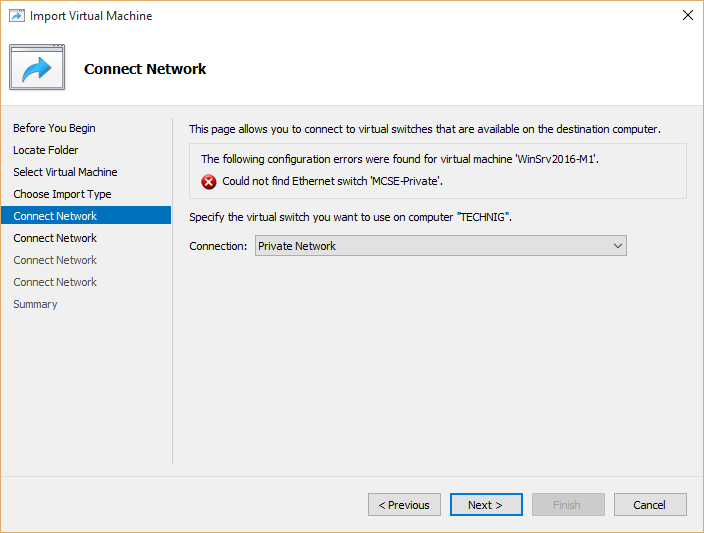
6. Select network card for virtual machine and click Next. If you don’t create Hyper-v virtual switch yet, create a new virtual switch from Hyper-v Manager. I have created a private network virtual switch for my virtual machines.
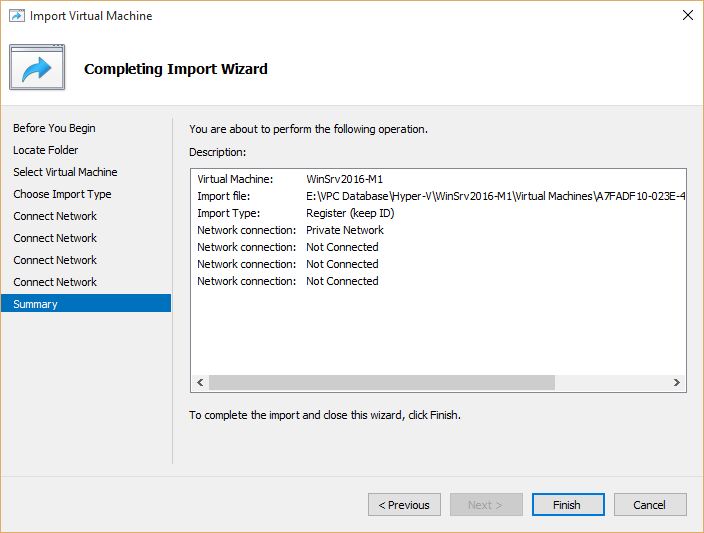
7. On the Summary page, read the summary information and click Finish to complete the task.
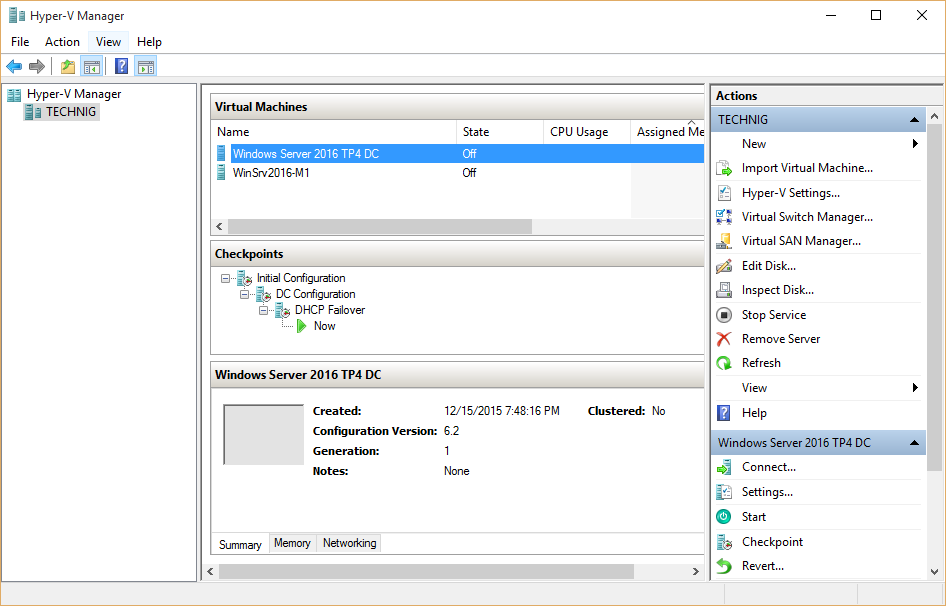
8. Finally, check the imported virtual machines on Hyper-v Manager. The virtual machines are imported with all checkpoints or snapshots.
That’s all how to import virtual machines to hyper v server. You can import these virtual machines even into another Hyper-v server. Just transfer virtual machines to other hyper-v server.