In this tutorial I am trying to show you how to be expert to use Illustrator 3D Extrude Options ? The extrude option of Illustrator is very easy to use and it will be awesome if you understand it how to use, this step by step tutorial will help you to be familiar with this power full option Adobe Illustrator.
Introducing Illustrator 3D Extrude Options
Lets take a look what we will create in this Illustrator 3D extrude options, follow me till the end of this tutorial to know all secret of this feature.

1. In this step I show to how make a 3D cube, and how to apply symbols to each surfaces of that cube, Open a new document and and draw big square as the size of the Art-board give it a color you like,then pick the Rectangle Tool and draw a perfect square.

2. Give any color to the square you like and select it and go to Filter> 3D> Extrude & Bevel Options it will open a new small window the only thing you need to do is follow the guide in image bellow.

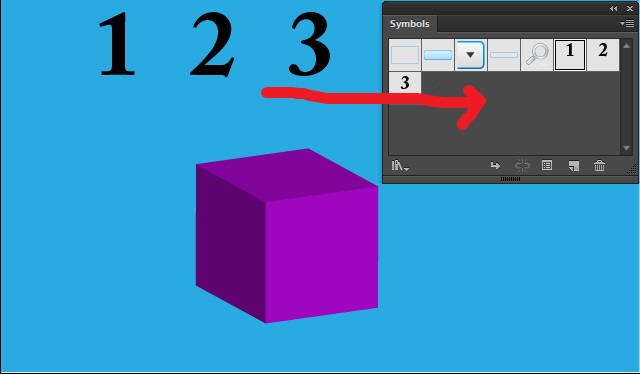
3. OK, your square should looks like bellow, and now I want to put number on each side of that square, it is very easy to do it, pick the Pen Tool and write three numbers and drag and drop it into the symbol panel, I write 1,2 and 3 and save these as a symbols.

4. Now select the cube and go to Appearance panel and there will be the Extrude and Bevel Options, dabble click on it and, it will open the 3D extrude & bevel options, so open the Map Art options which is at the bottom of this panel, in the Map Art panel you will see some options like Symbol, Surface and some other options, the symbol option help you to select the symbol you saved and the surface option help you to find the side or surface to set a symbol on it.
Your final result should looks like bellow.
That is it I hope you enjoy this tutorial and if you have any question feel free to ask in comment section bellow. thanks for following.