How to Install and Configure WDS in Windows Server 2012 R2 is a step by step guide to Windows Deployment Services. Windows Deployment Services is a Microsoft server technology for network-based installation of Windows operating systems and It is the successor to Remote Installation Services of Server 2003. In Windows Server 2012 R2, the following requirements needed for installing Windows Deployment Services role, depending on whether you choose the default installation (both Deployment Server and Transport Server), or only the Transport Server role service.
WDS Prerequisites
- The Windows Deployment Services server must be a member of an Active Directory Domain Services (AD DS) domain or a domain controller. You may need to ‘Install Active Directory in Windows Server 2012 R2‘.
- The Domain Name System (DNS) server on the network before you can run Windows Deployment Services. DNS will install with Active directory domain services, but if you have not, read the DNS Installation article ‘Install and Configure DNS in Windows Server 2012 R2‘.
- For deploying IP address you must have a Dynamic Host Configuration Protocol (DHCP) server with an active scope on the network because Windows Deployment Services uses PXE, which relies on DHCP for IP addressing the clients that want to install OS remotely. Read the topic ‘Install and Configure DHCP Server on Windows Server 2012 R2‘ for DHCP Server.
- You must have the appropriate credential to install role. It means you must be the member of local admin or domain admin. The hard disk volume must be NTFS.
How to Install and Configure WDS?
In Windows Server, sign in to the server as a domain admin and open the Server Manager if it’s not will start automatically. If the step by step is time consuming for your, watch the video tutorial at the end of this article.

On the Server Manager click Manage and then click Add roles and features. On the Before you begin page click Next.

On the Select installation type page, click Role-based or feature-based installation, and then click Next.
On the Select destination server page, select the appropriate server, and then click Next. By default the MS2.technig.local server has selected.
On the Select server roles page, scroll down and then select Windows Deployment Services check box. in the Add feature that are required for Windows Deployment Services? click Add Features and click Next. This task will install the Windows Deployment Services Tools which included in Windows Remote server administration tools.
On the Select features page, click Next.
On the WDS page once read the information and click Next.
On the Select role services page, select the role services to install for Windows Deployment Services. Leave these role services selected by default if you want to install both the Deployment Server and Transport Server. Click Next.
Finally on the Confirm installation selections page, click Install.
When the installation process complete successfully, click Close and go to Server Manager dashboard. Now we have the WDS role and lets try to configure it.
How to Configure Windows Deployment Services?
While you are log in as domain admin account or local administrators members, go to Server Manager and click Tools then click Windows Deployment Services in order to open it.
On the Windows Deployment Services console page expand the Servers and right click the MS2.technig.local then click Configure Server.
On the Windows Deployment Services Configuration Wizard page, read it once and click Next.
On the Install Options page select integrated with Active Directory and then click Next.
On the Remote Installation Folder Location, select the location where you want to keep all Windows Images and configuration files and then click Next.
On the PXE Server Initial Settings page select Respond to all client computers (Know and unknown) and click Next. Remember, we are in the test area so in the real network environment select whatever you want.
The sever will start and complete the configuration. On the Operation Complete page unchecked the Add image to server now and then click Finish
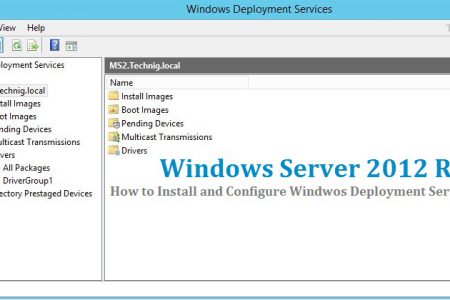
Here is the Windows Deployment Services in Windows Server 2012 R2.
OK, that’s all Install and Configure WDS. The installation has completed successfully. To continue the WDS configuration, adding Windows images and creating capture image read the following articles: Configure Windows Deployment Services on Server 2012 R2?
Video Tutorial, Install WDS on Windows Server 2016


Thank you sir, fantastic visual.
Thanks for the amazing article. My two cents about Deploy OS using WDS Server in Windows Server 2012 r2.
After PXE Server initial settings I am not able to proceed,
I get an error msg saying that either username or password is not correct
Tryied alot of troubleshootings and none seem to work.
Ms Win Server 2016.
Any one who can help please..
Don’t you have to setup DHCP Server Options like 67, 66 and so on to make it work for both BIOS and UEFI?