Local Web Server is the computer with server operating system to host Websites. It runs network protocols and services to function entirely for running written codes by different programming languages and databases like MySQL or MSSQL Server. Creating such a server need more money, configuration skills and daily maintenance.
Well, to have a home web server for running your written script or testing content management system (CMS) like WordPress, Joomla, Drupal, you don’t need a reliable computer and web server operating system. All you need to do this to install a web development platform which contains PHP engine for running Scripts and MySQL Server for using as database and Apache Web Server. These are all pretty enough for our home and Free Web Server Lab.
There are many web development platforms with the same functionality for creating a local web server. In this article, we try to use WAMP server. If you are a Windows user, you can use WAMP Server or XAMPP Server. For Linux user better to use LAMP Server or some alternative.
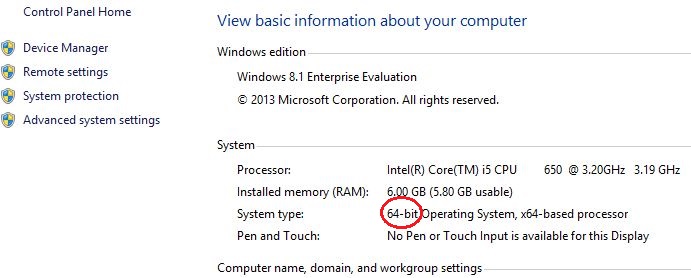
First download the WAMP server from here according to your operating system architecture. If your PC operating system is x64bit, so you must download 64bit version of WAMP server. To know your OS architecture, right click computer icon’s on desktop and click Properties. You can see what is your OS. See the screenshot.
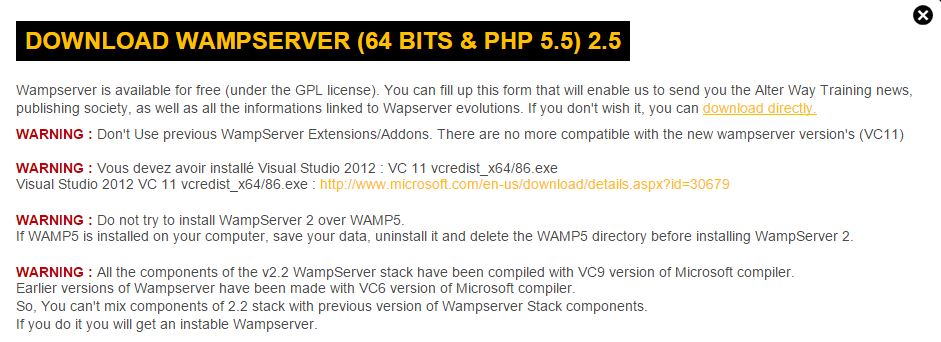
When you click the download link a new popup page will appear. Just do as the instruction. Click the download directly link.
Download the setup files and two necessary updates if you don’t have already installed them on your PC.
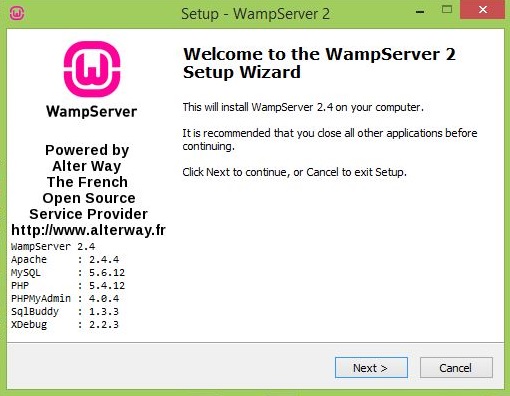
When the download has complete run the WAMP Server setup file and continue by clicking Yes to run as administrator.
Click next on the first page.
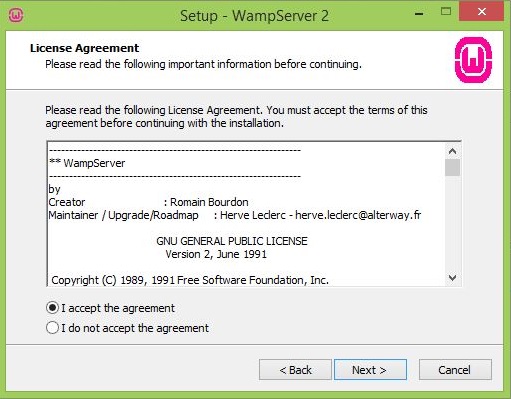
Accept the license agreement and click next.
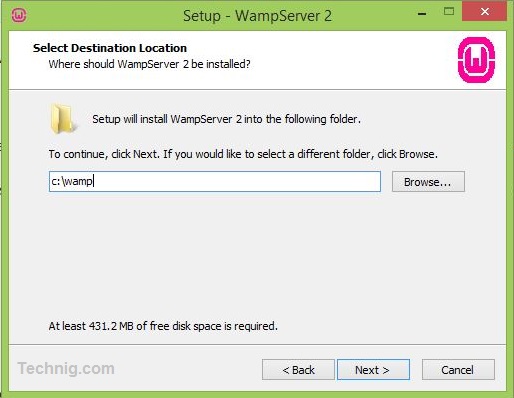
Chose which directory you want to install Wamp Server and click next.
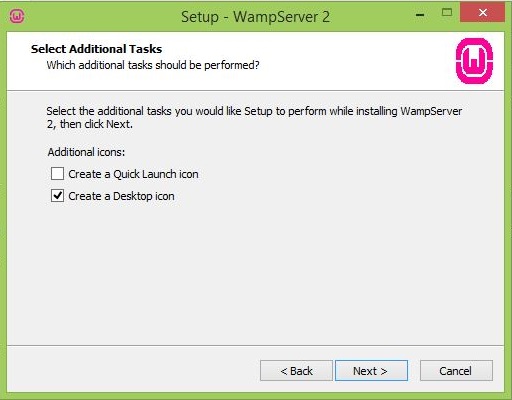
Tick create a desktop icon on the select additional tasks and click next.
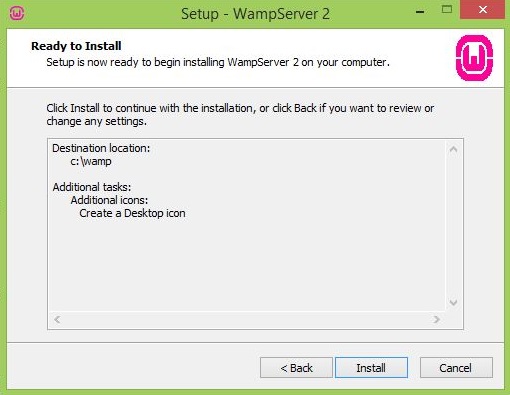
Now click Install button in Ready to install page.
It takes a minute to extract all files. When extracting complete successfully, ask you to select a browser as default web browser for Wamp Server.
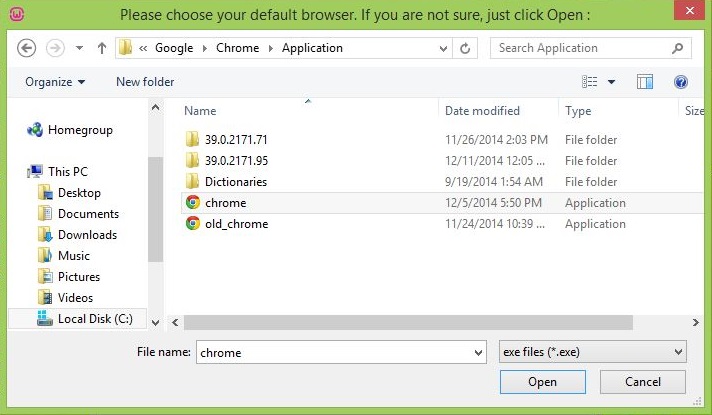
Just select each browser you have on your system and click Open. I’m using Google Chrome for this purpose.
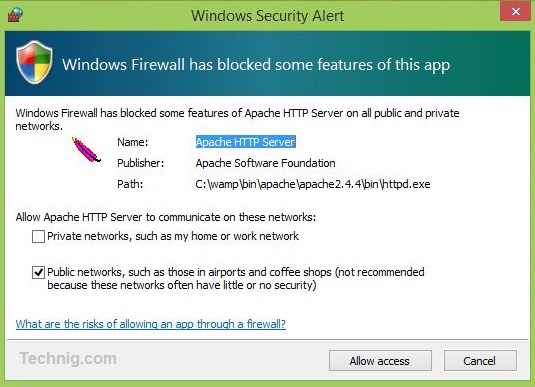
Maybe Windows Firewall will ask you about allowing Wamp Server access to public network. In this page only click allow access and continue.
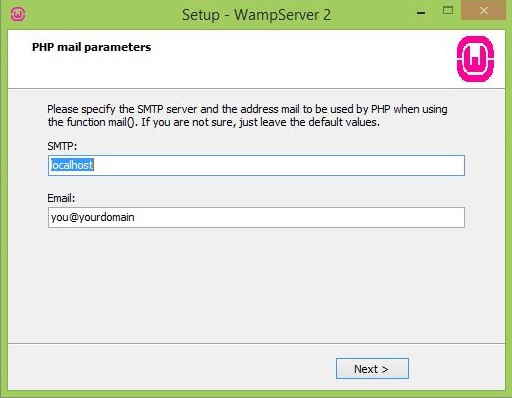
Leave the PHP mail parameters page by default and click next.
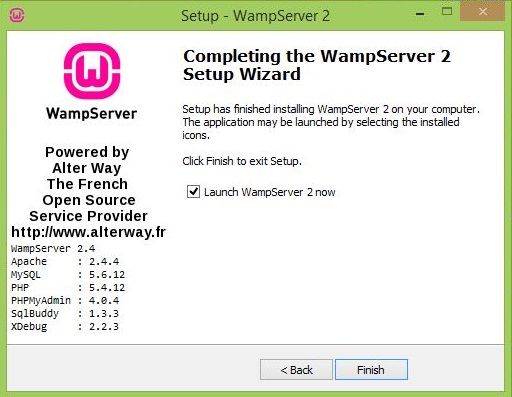
Finally click finish button to close the setup page.
Now the Wamp icon must appear to the Windows Taskbar.
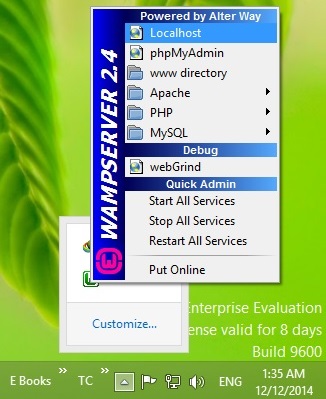
Just click Wamp Server icon and open the Localhost link.
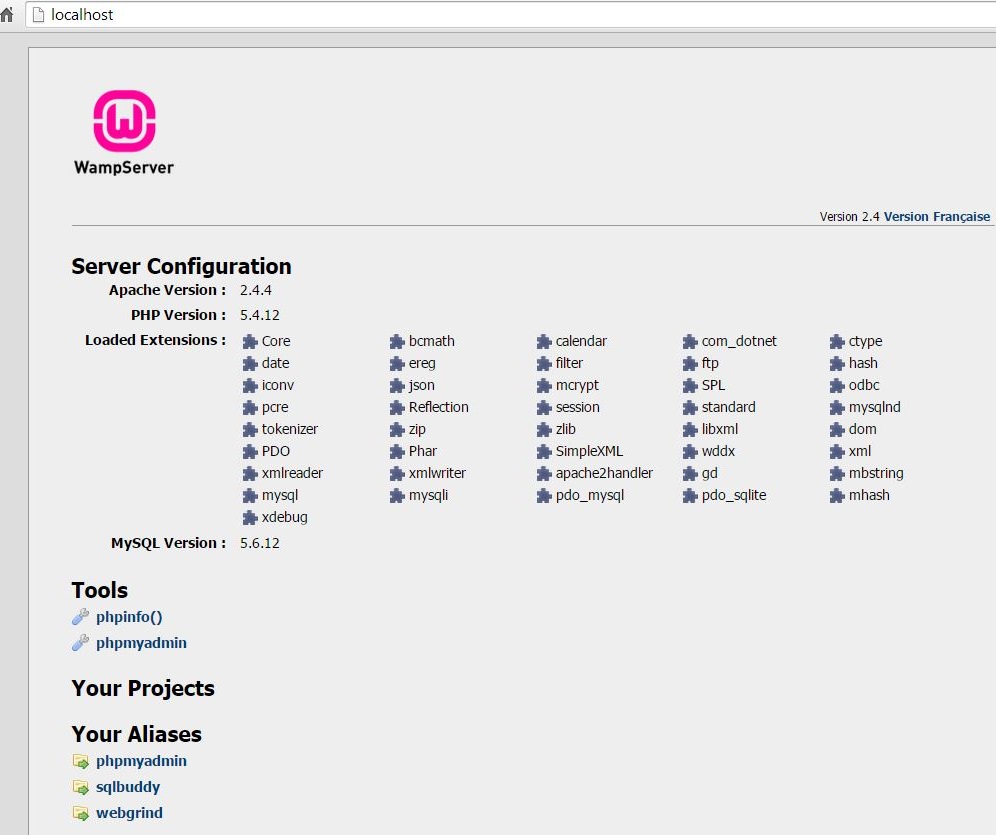
This is the home page of your local Web Server.
As web developer or programmer you can can write and test your code locally, also install CMS and test your website before you lunch it publicly trough the internet.
Great guide. I installed the WampServer on my computer and it works properly.
Thank you!
Your welcome dear Mahdi and I’m glad that my simple article helped you.