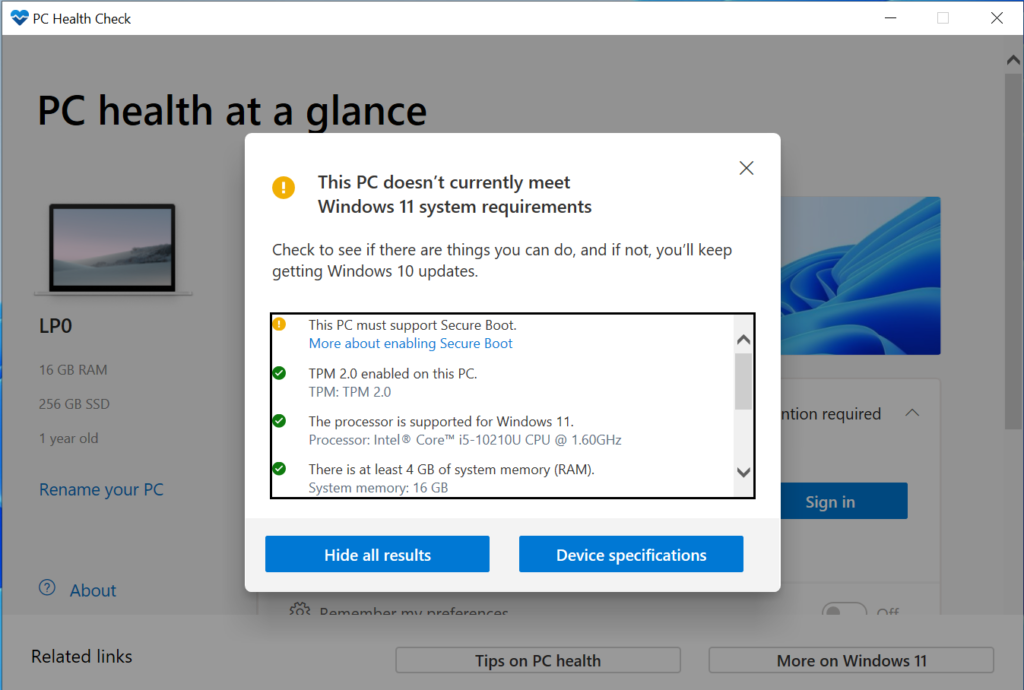
The issue of “This PC must support secure boot” is about UEFI boot being enabled on PC to support Windows 11 installation. The article is intended for users who are not able to upgrade to Windows 11 because their PC is not currently Secure Boot capable. Follow up the article to find out how to enable secure boot on different PC manufacturers. The secure boot option is a BIOS feature, normally you can change it through your computer BIOS settings.
What is Secure Boot?
Secure Boot protects the boot process against security attacks from malicious code like malware and ransomware. Secure Boot is firmware-dependent and requires that the computer BIOS is set to UEFI mode. The Secure Boot is an important security feature designed to prevent malicious software from loading when your PC starts up (boots). Most modern PCs are capable of Secure Boot, but in some instances, there may be settings that cause the PC to appear to not be capable of Secure Boot. These settings can be changed in the PC firmware. Firmware, often called BIOS (Basic Input/Output System), is the software that starts up before Windows when you first turn on your PC.
The process of changing the BIOS settings are the same or with little differences on various manufacturer PCs. You can check the article about “All Laptops And Desktops System BIOS Boot Keys“.
How to Verify that Secure Boot is Enabled?
- Click the Windows Button to the bottom left of the screen or press the Windows Key.
- In the Search Bar, type: System Information
- Press Enter.
- System Information will open, and System Summary should be selected by default.
- On the right side of this screen, look for BIOS Mode and Secure Boot State.
- If Secure Boot is enabled, the BIOS Mode will show “UEFI,”.
Check on the System Information page to find out the BIOS Mode. If the BIOS Mode shows “Legacy” in the Boot setting in the computer BIOS, it must be switched from Legacy to UEFI mode. Verify Secure Boot with PowerShell.
How to Fix This PC must Support Secure Boot?
You need to restart your computer in order to change the Legacy BIOS boot to UEFI mode. To access the settings, you can consult your PC manufacturer’s documentation or follow these instructions:
On Windows try to Run Settings > Update & Security > Recovery and select Restart now under Advanced startup. From the next screen, select Troubleshoot > Advanced options > UEFI Firmware Settings > Restart to make changes.
If you can’t find Recovery under Update & Security, just search for the “recovery” key then click on Reset this PC to go to Recovery window.

To change these settings, you will need to switch the PC boot mode from one enabled as “Legacy” BIOS (also known as “CSM” Mode) to UEFI/BIOS (Unified Extensible Firmware Interface). In some cases, there are options to enable both UEFI and Legacy/CSM. If so, you will need to choose for UEFI to be the first or only option. If you are unsure how to make any necessary changes to enable the UEFI/BIOS, we recommend that you check your PC manufacturer’s support information on their website. Here are a few links to information from some PC manufacturers to help get you started:
Switching from Legacy to UEFI Mode
- Boot your computer.
- Tap the F2 key when the Dell logo appears to enter the BIOS. The boot key is different on different manufacturer PCs. If you computer is different, check it’s boot keys here all Laptops And Desktops System BIOS Boot Keys.
- The following steps can vary based on your computer model:
For Alienware, Inspiron and Vostro Laptops.
- Go to Boot -> Change Secure Boot List Option to UEFI.
- Press the F10 key to Save and Exit.
For Dell OptiPlex, Precision, Wyse, and XPS machines.
- Go to General -> Boot Sequence -> Boot List Option – Change to UEFI.
- Click Apply -> click Exit – Save the Changes.
Enabling Secure Boot
Secure Boot is controlled by the computer firmware (BIOS) and can be enabled with a few simple steps:
- Boot your computer.
- Tap the F2 key when the Dell logo appears to enter the BIOS.
- The following steps can vary based on your computer model:
Alienware, Inspiron and Vostro
- Go to Secure Boot -> Change Secure Boot to Enabled.
- Press the F10 key to Save and Exit.
OptiPlex, Precision, Wyse, and XPS
- Go to Secure Boot -> Secure Boot Enable -> Check Secure Boot Enable.
- Click Apply -> click Exit -> Save the changes.
The computer will restart and boot back to the Windows desktop.
For other computer manufacturers:
- Lenovo
- HP
- To find out boot keys for all Laptops And Desktops System BIOS Boot Keys.
While the requirement to upgrade a Windows 10 device to Windows 11 is only that the PC be Secure Boot capable by having UEFI/BIOS enabled, you may also consider enabling or turning Secure Boot on for better security.
Once you enabled secure boot on your computer, you can securely upgrade to Windows 11. There are 3 different options to upgrade to Windows 11 from any Windows 10 PC.
Please, share your issue through the comment section. We will check and help you fix your computer issue some as possible.
Good luck.