To configure file and disk encryption using Bitlocker in Windows Server 2012 R2, you need to know the basic of Bitlocker driver encryption tools. The Windows Server 2012 R2 supports two different types of file and disk encryption, BitLocker and Encrypting File System (EFS). In this article, we are going to Configure disk encryption using Bitlocker in Windows Server 2012 R2 and Windows 10.
File and Disk Encryption Using Bitlocker
BitLocker provides fix drive encryption, operating system drive encryption and Removable drive encryption. For OS drive encryption, Bitlocker uses a Trusted Platform Module (TPM). In case when the system doesn’t have TPM, you can use an additional method using USB or Network Unlock to enable Bitlocker. The Bitlocker to go is for removable drive.
Install BitLocker Encryption
By default, the BitLocker is not installed in Windows Server. You should install it from server manager, or using the install-WindowsFeature PowerShell command line.
1. From the Server Manager dashboard, click Manage then click Add Roles and Features to open the Add Roles and Features Wizard.
2. On the Before you begin page click Next.
3. On the Installation Type page, select Role-based or feature-based installation and hit Next. On the Server Selection page click Next also.
4. Leave the default and click Next on the Server Roles page.
5. On the Features, page select BitLocker Drive Encryption and BitLocker Network Unlock. Add the required features also then click Next.
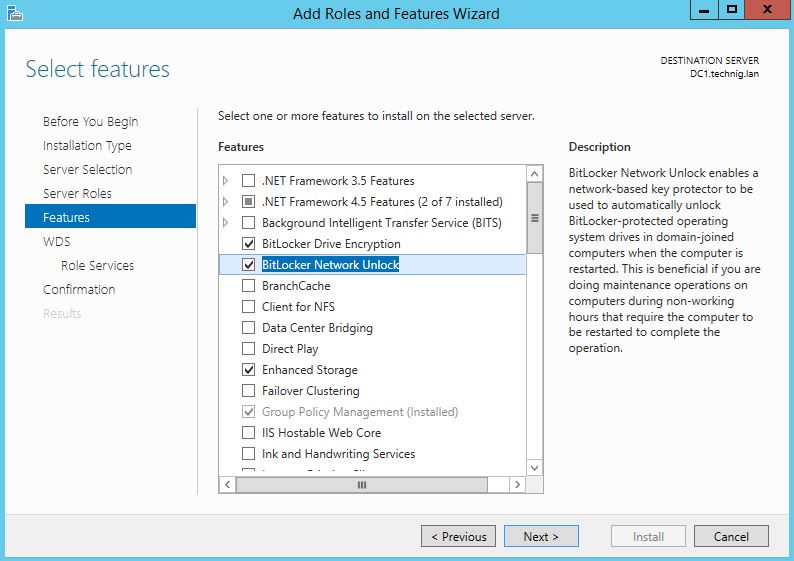
Remember, if you want to have the BitLocker icon on the control panel, you should install the Desktop Experience features also. The desktop experience feature is under the User interfaces and infrastructure…

6. Click Next on the WDS page and go to the Role Services page, on the Role Services page select Deployment Server and Transport Server then click Next.

7. On the Confirmation page tick the Restart the destination server automatically if required option then clicks Install and let the installation process finished successfully. After the installation, the system will restart and Close the installation page.
Install BitLocker, BitLocker Network Unlock with PowerShell
To install BitLocker driver encryption and BitLocker Network Unlock features with Windows PowerShell, do it with Install-Feature command
Install-WindowsFeature -Name BitLocker,BitLocker-NetworkUnlock,Desktop-Experience -IncludeAllSubFeature -IncludeManagementTools -Restart
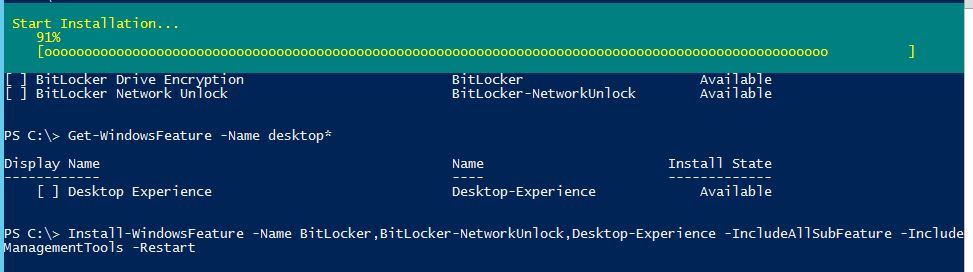
Here is the result. The BitLocker, BitLocker Network Unlock and Desktop Experience installed successfully.

OK, the installation has finished. Now you should configure BitLocker for fix drive and Operating system.
Enabling BitLocker Encryption on Operating System Drive
For encrypting operating system drive, the BitLocker need TPM which previously explained about TPM. If your system doesn’t have TPM, you must configure additional method to encrypt OS drive using USB flash drive.
1. Go to Group Policy Manager by typing “gpmc.msc” on the Windows Run, then create a GPO.
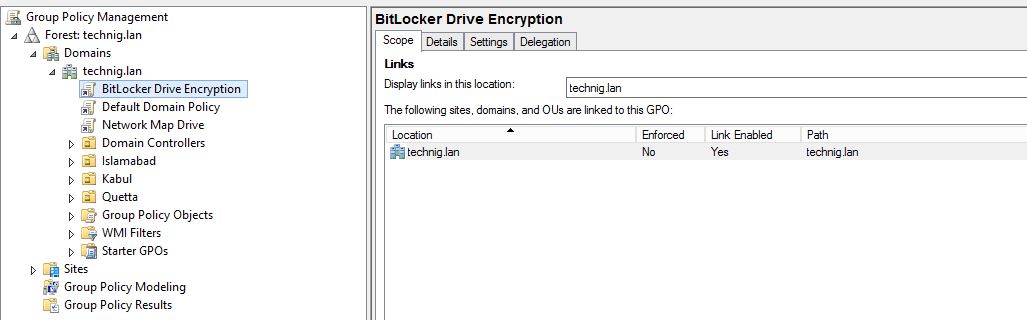
2. Right-click the newly created GPO (Bitlocker Drive Encryption) and click Edit.

3. On the Group Policy Management Editor page, expand Computer Configuration to Operating System Drives. Then double click on Require additional authentication at startup to open and Enable it.

4. Enable the Require additional authentication at startup (Windows Server 2008 and Windows Vista) then click OK to apply the changes.
5. Try to enable the Bitlocker on the OS drive of the Windows Server 2012 R2.
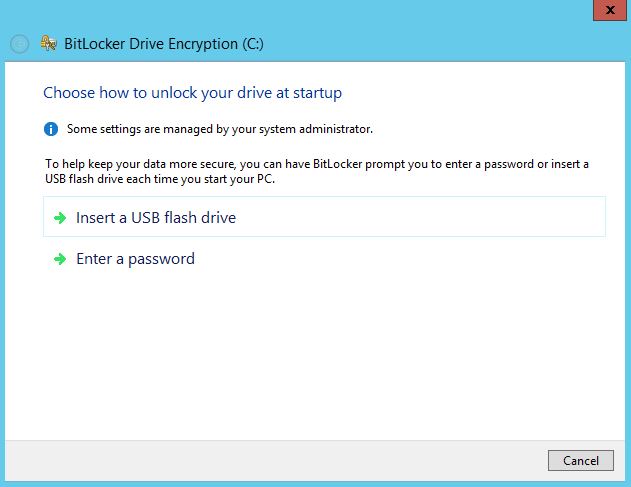
With this two method USB flash drive and Enter Password you can enable it on Operating system drive.
That’s all enabling BitLocker on OS driver, but let’s configure Bitlocker Network Unlock with help us to unlock BitLocker OS encrypted drive through the network.
Enable BitLocker Network Unlock
The BitLocker Network Unlock will unlock the encrypted OS drives through the network. But it needs some roles to be installed on Windows Server.
Require Roles for Bitlocker Network Unlock
- Active Directory
- DNS Server
- DHCP Server
- WDS Server
Let’s configure BitLocker Network Unlock through group policy from Windows Server 2012 R2.
1. On the Group Policy Management Editor page, expand Computer Configuration to Operating System Drives. Then double click on Allow network unlock at startup to open and Enable it.
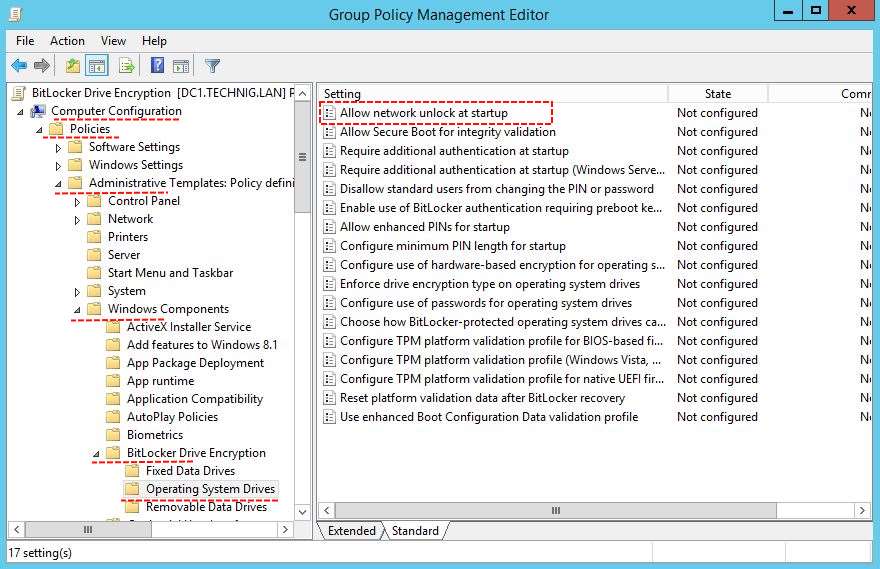
Click OK to apply the changes.
Testing Bitlocker Network Unlock
Here I’m testing Bitlocker network unlock on a client system with Windows 10 pro.
1. To enable it, go control panel and click BitLocker Driver Encryption and enable it on OS drive.
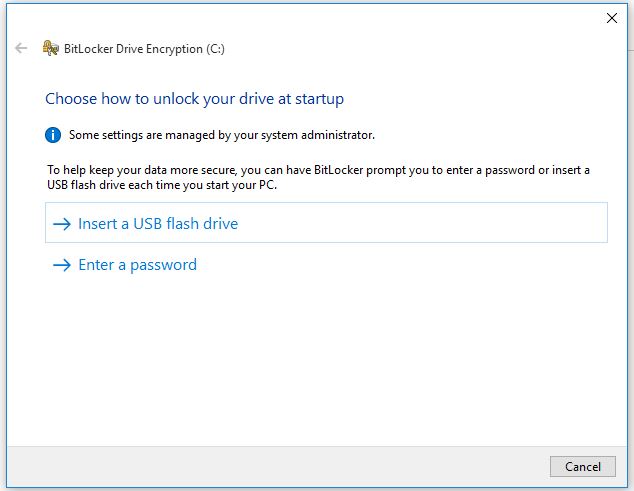
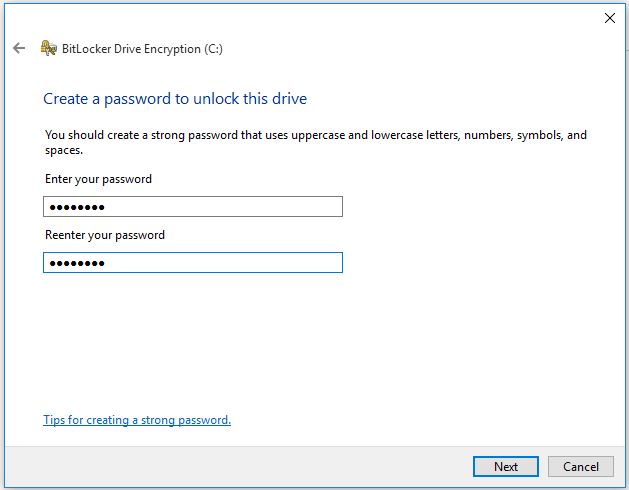
2 Click Enter a password then type a password and confirm it then click Next.
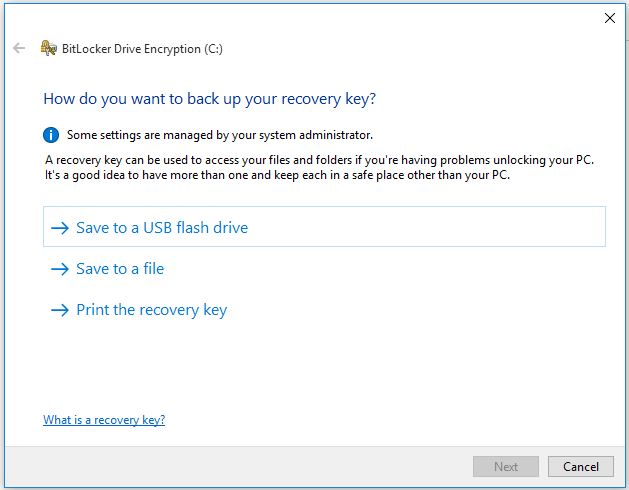
3. Save the recovery key to a file of USB. Keep the recovery key to a secure place then click Next.
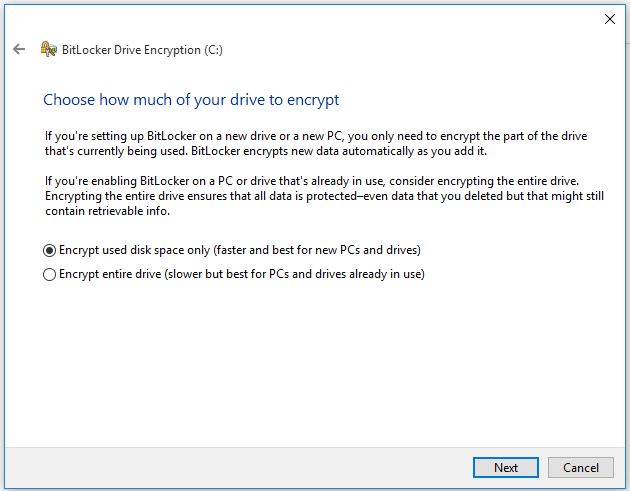
4. On the Choose how much of your drive to encrypt click Next.
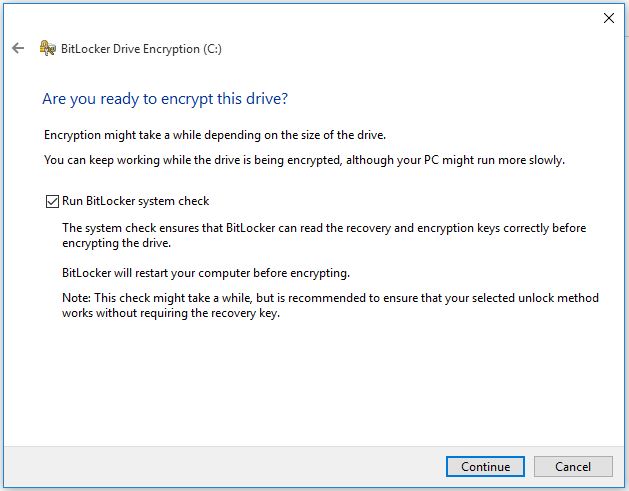
5. Do nothing, just click Continue to restart the system and starts encrypting operating system drive.
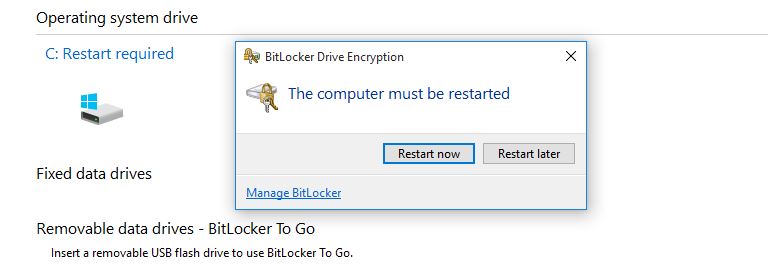
6. Click Restart now to restart the system.
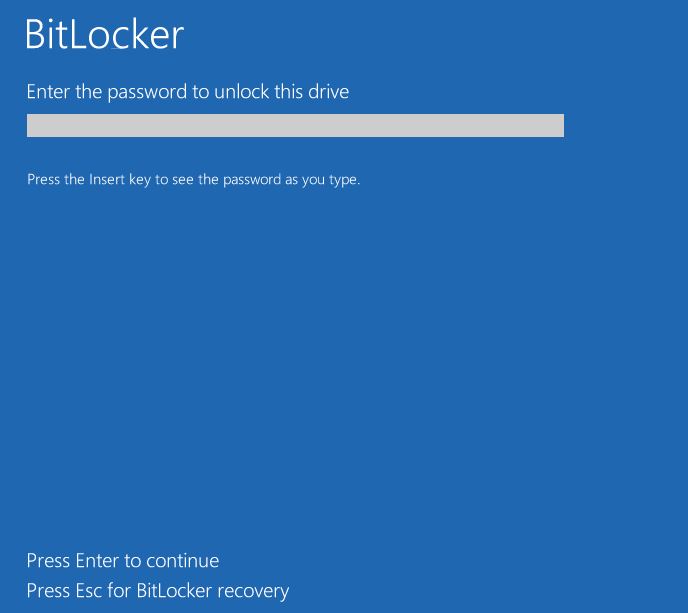
7. Finally, after restarting the system, the Bitlocker ask you the startup password.
OK, we have successfully enabled and configured BitLocker, BitLocker Network Unlock on Windows Server 2012 R2 and Windows 10. Hope the “File and Disk Encryption Using Bitlocker In Windows Server 2012 R2” article will help you to get more about disk encryption using BitLocker.
This is a useless article. It does not explain anything regarding network unlock.
Hi,
This is a lab manual guide for installing and configuring BitLocker on Windows server. The process is pretty clear. If you need to know more details about BitLocker try to read the full description on Microsoft website.
It is not necessary to explain everything in a deployment lab manual. A lab manual must be a short step by step pictorial guide.
Regards,
Thanks … Easy, descriptive and to the point.