How to Design Twitter Logo Using Illustrator?
In this tutorial I will show you step by step to design Twitter logo using Illustrator. this step by step tutorial is very easy in 12 steps we design the unique logo of Twitter.
Design Twitter Logo Using Illustrator
This will be the final result of what we are going to create in this design twitter logo using Illustrator tutorial hope you follow to the end.

1. Open and new document name it (Twitter Logo) use Basic RGB profile and click OK. A new document or Art board will opened.

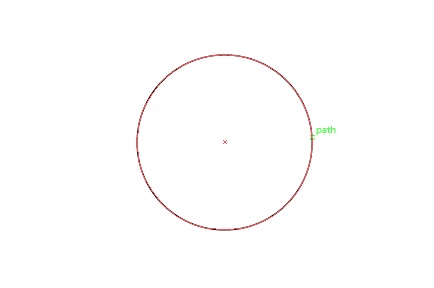
2. Now pick Ellipse Tool and make a perfect circle try to hold down the (Shift+Alt) keys to make your circle perfect, as I draw bellow.
3. Make an small circle and place it at the right middle part of the big circle try to make it as mine in image bellow because it will be the head of our twitter logo.
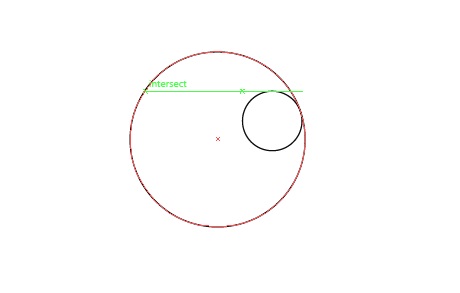
4. Now select both big and small circles and swap the Stroke to Fill then make a new circle as I do in image bellow, it will make the body of our Twitter logo.
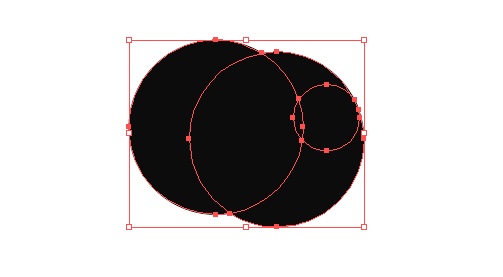
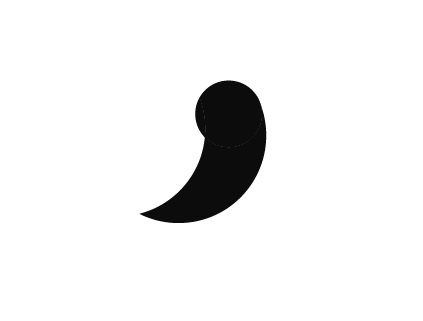
5. Select all three circles and divide it, to divide the shape go to Window>Pathfinder>Divide, after dividing the circles press (Shift+Ctrl+G) to Ungroup the divided circles then try to delete the extra parts of the circles. Your final result should looks like image bellow.
6. Now draw an small circle the same size of twitter head, place it at as image bellow, and make a copy of that circle move it up as image bellow to make a wing of twitter.
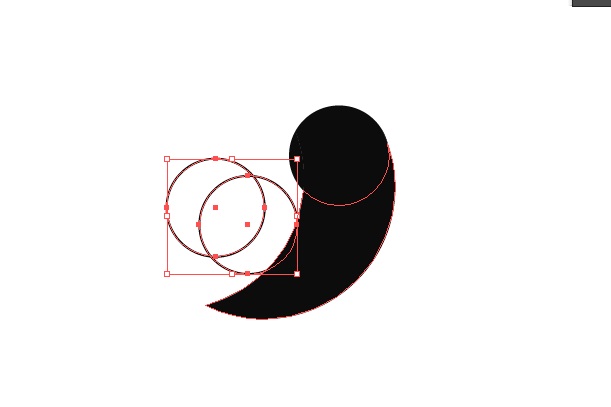
7. OK, do the same thing as we did with body of twitter, swap the stroke to fill and use Divided Options to divide it and press (Shift+Ctrl+G) to ungroup it, delete the extra parts till your twitter wing looks like bellow it looks like moon. And do the same process for second wing.
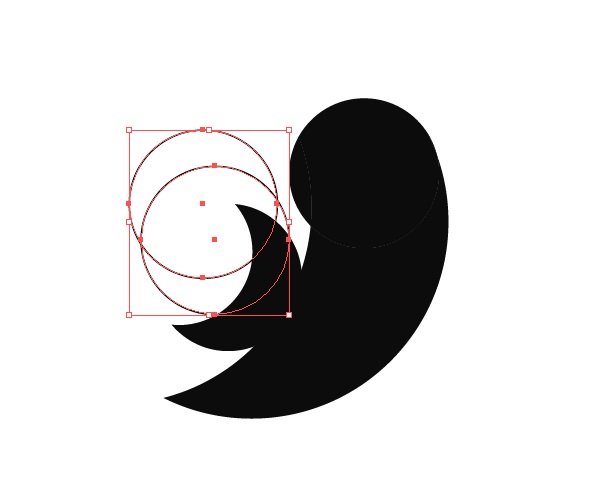
8. Select both of the circles and swap the stroke to fill and divide it then ungroup it delete the extra parts till your image looking like bellow.
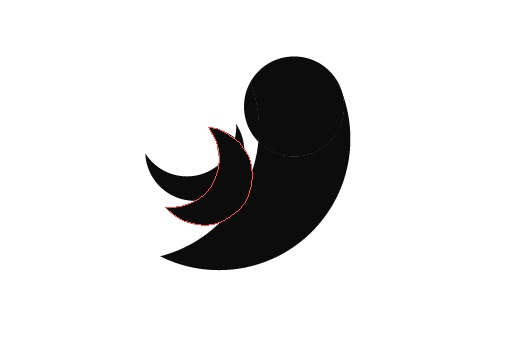
9. The last wing, draw a new circle and copy it and past it scale it up till it looks like image bellow, the last wing should be bigger and thicker than other wings
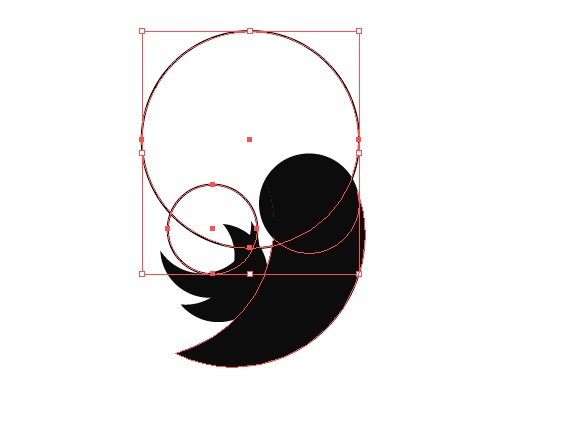
10. Now swap the stroke to fill and do the same process as we did for previous steps then delete the extra parts, after deleting the extra parts your final result should looks like image bellow.

11. Use Pen tool to delete and add the extra parts of wings, and draw two circle to make the mouth of the twitter it is very easy as the previous steps, draw the circles as image bellow.
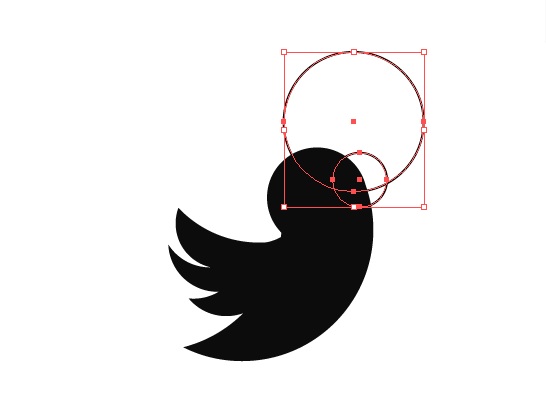
12. Now create the top beak of the twitter as image bellow and swap the color then divide it and do the same process as previous steps. And select all the parts and Unit them then give this color code (28A9E1) for the color of Twitter.

That is it, hope you like the tutorial if you have any question fell free to leave your question in comment section bellow.
