How to Create Flyer Mockup in Photoshop?
In this series of tutorial I will show some advanced option of Photoshop to create flyer mockup in Photoshop, we will use smart objects for placeholders, Transform options to scale, skew, distort, the layers and we have lots of other tips and trick, after reading this tutorial you will be able to create you own mock ups for flyers, business cards and other things.
Create Flyer Mockup in Photoshop
Before starting the tutorial of how to create flyer mock up in Photoshop? lets take a look some example of flyer mock ups, that we will create it in Adobe Photoshop in a few steps.
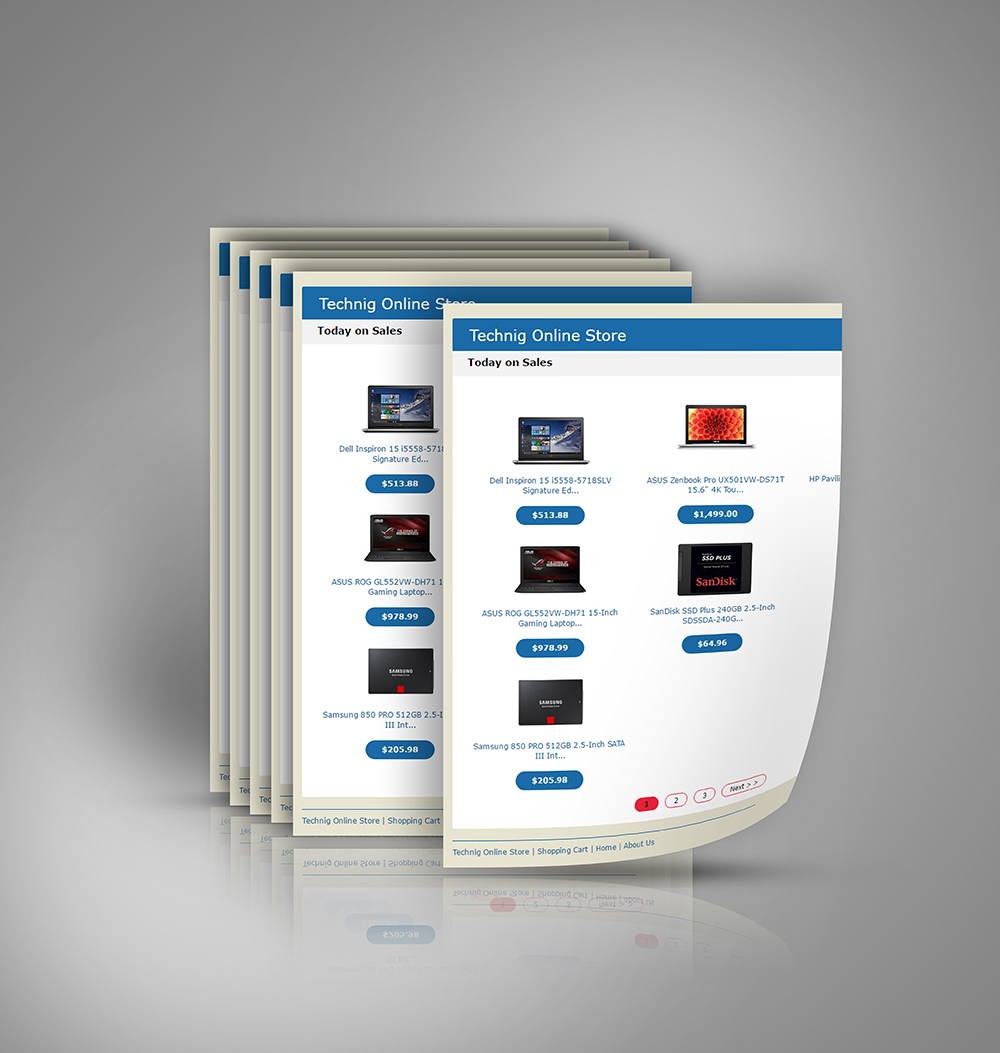
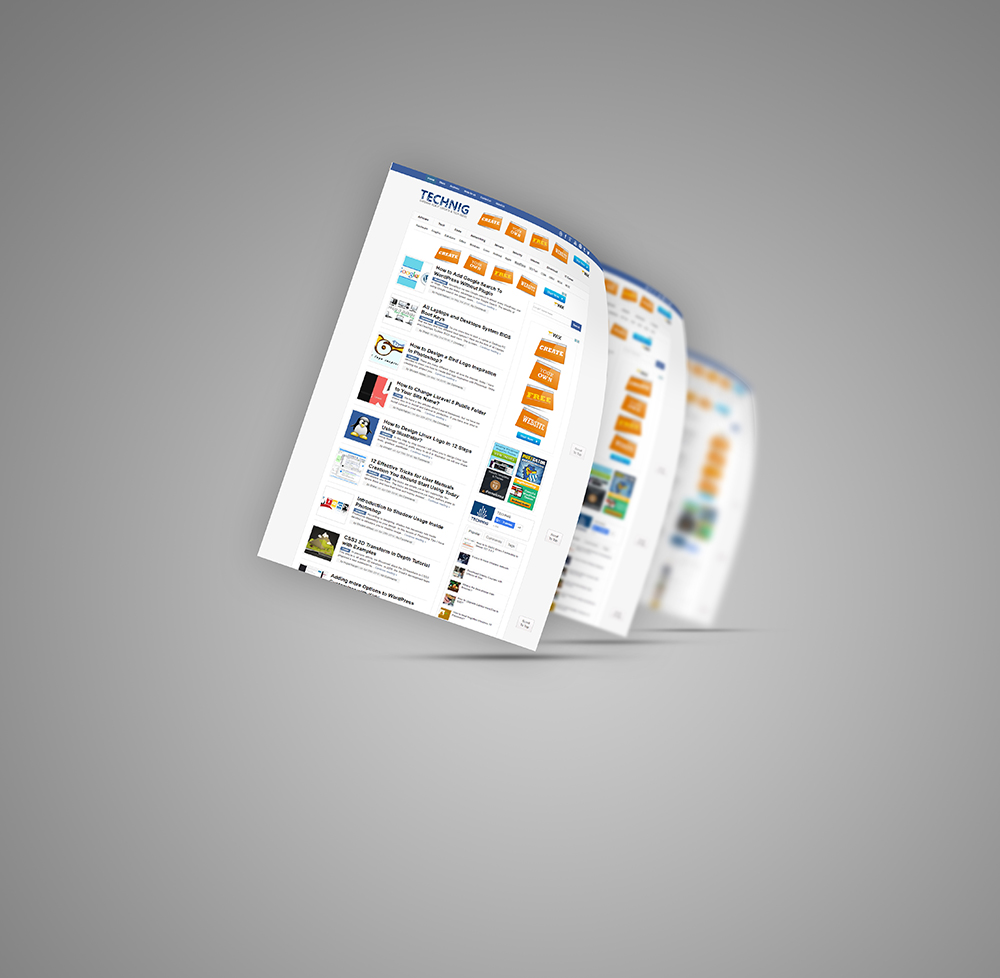
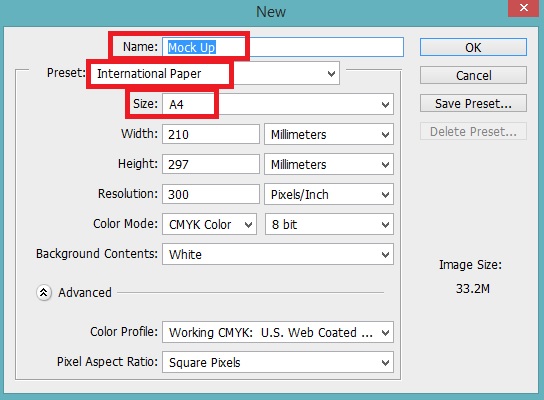
1. The most important thing that you should remember is, to think what for you are going to create the mock ups, for business cards, Brochures, Flyers, Posters or other stuffs. We will create flyer mockup in Photoshop. Create new document with (A4 size) click OK.
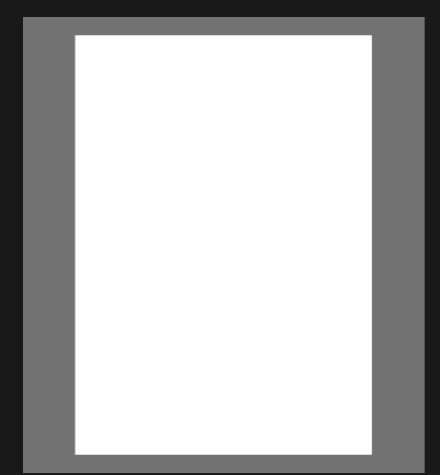
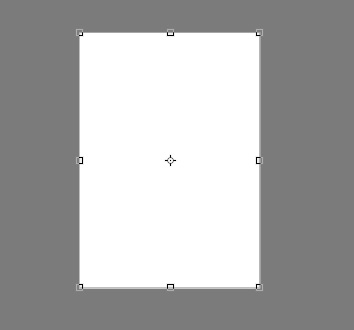
2. Now make a copy from Background by pressing (Ctrl+J) then pick the Crop Tool (C) and make the the entire document a little larger as I do in the image bellow, your document will take to color but don’t worry! pick a medium gray color and select Background layer fill it with select color.
3. Name your copied layer (Placeholder) then right click on placeholder layer, convert it to Smart Object, remember that do not scale the placeholder layer before converting to Smart Object. After converting the layer to Smart Object you can bring any changes. I scale it down as you see in bellow.
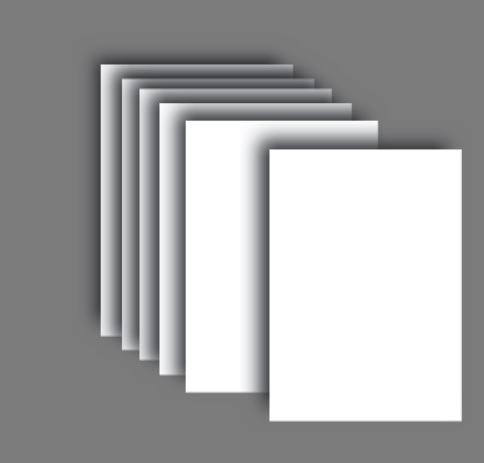
4. Make your placeholder layer smaller apply Drop Shadow Effects (Blending Mode = Normal, Opacity = 100%, Angle = -45o, Distance = 85 px, Size = 130 px ) and make six copy of that layer then try to align it as I do in image bellow, the spacing and copy of the layer is depend on you.
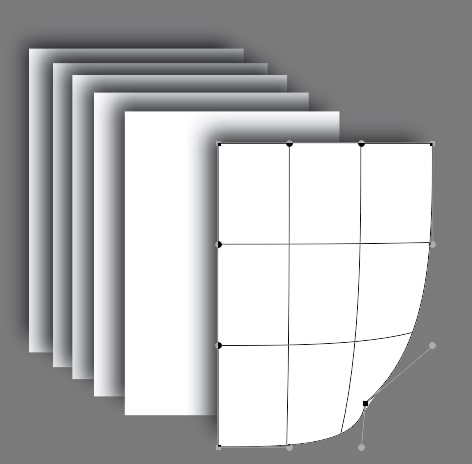
5. OK, Now I will bend the lower right corner of the front layer, to do it, select the layer and press (Ctrl+T) it will bring the transform option, the thing we need to is use the Warp option which is on the right side of Option Bar panel.
Create Flyer Mockup in Photoshop
6. Now try to make a little shadow for the bend corner of the layer, and use brush tool to do it, then duplicate each layer and press (Ctrl+T ) then right click on it, and use the Flipped Vertically to flipped it, after flipping move each layer to the bottom of the main layers to make the reflection of you mock ups.
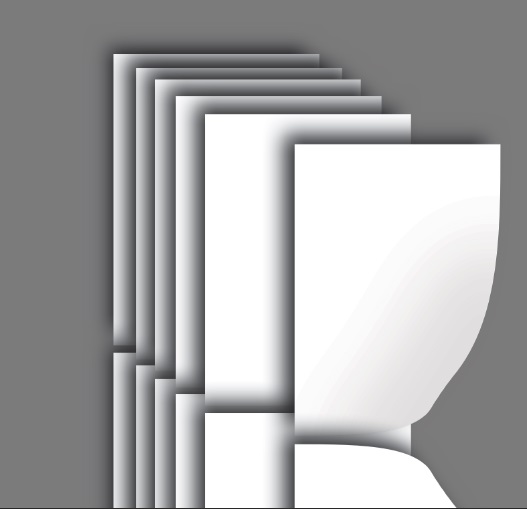
7. Now select all the reflected layers and move or bring all of them to the bottom of other layers, after doing the process, make Layer Mask for each reflected layers and apply gradient on masks of each layer, to hide the half piece of the reflected layer, and bring down the opacity as well to make it looks realistic.
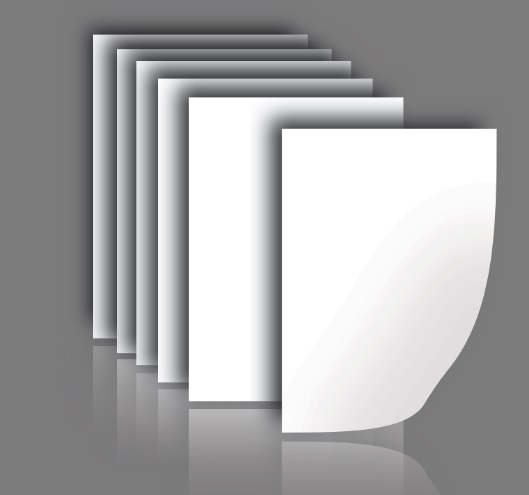
8. Now double click on any of the top layers not the reflection’s layer it will open a new document and place you flyer in this document and press (Crtl+s) to save it and come back to the main document see wow!try and some more shadows and lights around your document. you can make many kinds of flyer mockups.

Hope you enjoy this tutorial, if you have any question please leave comment bellow in comment sections. Thanks for reading this create flyer mockup in Photoshop tutorial.

Thank you for this helpful tutorial. I learned alot.
Excellent. I was wondering since long that how come this effect could be done by myself and i never thought that this could be so easy. thank u for sharing such wonderful and easy way. I highly appreciate your efforts of explanation.
Thanks for the wonderful information, am highly grateful for this tutorial. It helped me a lot