In 2015 when I started blogging, I had no idea that we can create a site without code. But later I got the idea that we can create a site without any code. The same thing happened to me in 2018, when I just started learning code. I got the idea of How to Create App without coding. I know coding or programming is everything an engineer, but those guys who don’t know code what they should do?
Well, the answer is using the alternative paths. Yet, I have not found an alternative path of creating software, but I have found a way on How to create App without Coding for Android and iOS. But this method is not too much easy, you have to learn the basics, then You can create advanced applications such as a game. That’s why today I have decided to create a basic Application for learning some basic of parts of thunkable on How to Create App without coding. I hope it should be exciting for you with getting started.
Create App without Coding
There are many alternative paths available on the web where you can create an App, some of them are free and some of them are not free. The site which I am using is totally free. The only thing you need is a Gmail account and skills of the site. This site is called thunkable.com.
To Create App without Coding, follow the procedures:
Step 1. Open your browser and search there for thunakble.com
Step 2. Sign in with your Gmail account. If you don’t have a Gmail Account, you have to create one.
Step 3. Once you have logged into the thunkable, you have to decide which platform you want to create an Application. Android or iOS. I prefer to create an Application for Android rather than iOS.
Step 4. Once You select your platform, on the left side of the window, select create a new app and give a name for the Application. I will name it MyFirstApp.
The complete window of thunkable is divided into 2 sections of Designer and blocks. The designer section is the place where you can design the app, and once you designed the app, select blocks and link them together. Once you have named your app, you will be directed to the Designer panel of thunkable.
Since this post is for basic users, I will create a very basic Application, and in the next post I will be creating an App for YouTube.
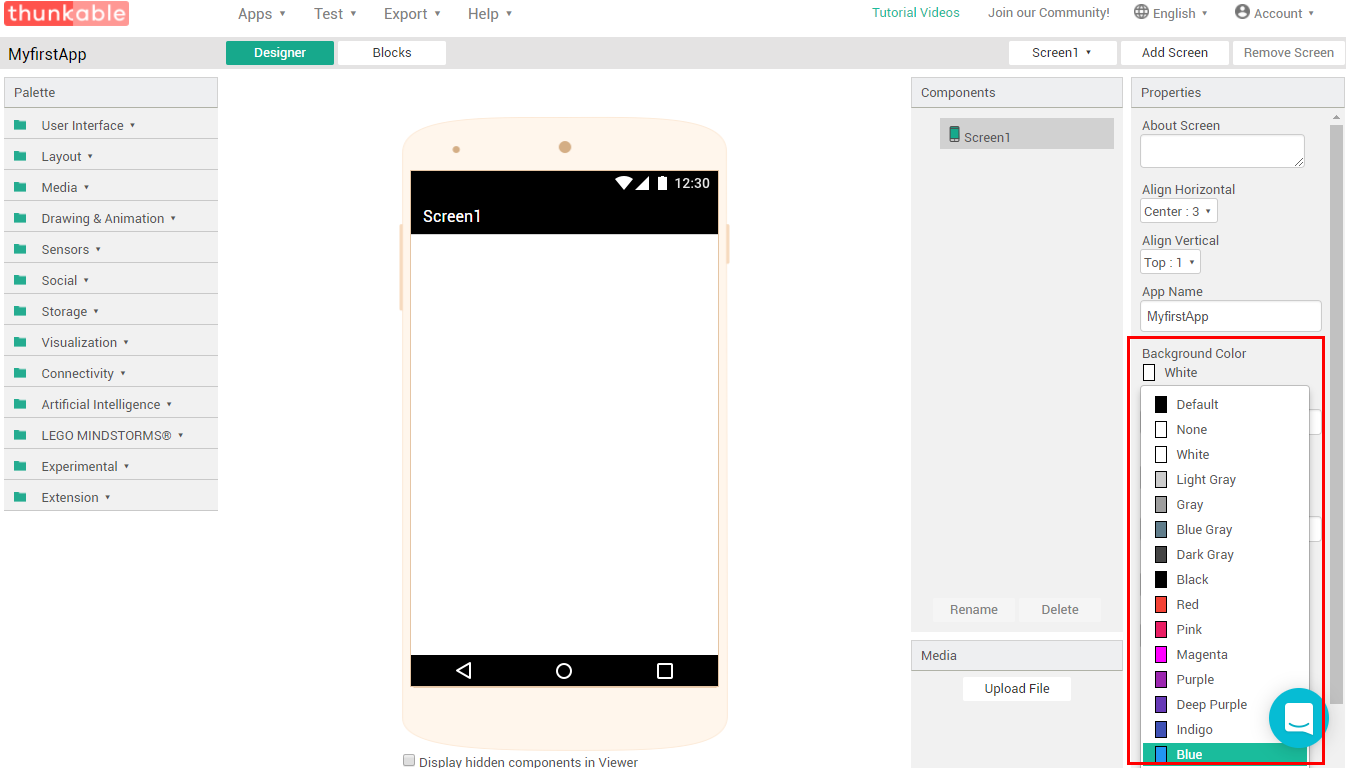
Step 1. After logging in, selecting the platform and giving a name for the application it is time to start. First I will change the background of my App. To do that, on the right side of properties tab, select background and change the color.

Step 2. The next thing is I will change the name of the scrren1 to Mobile News. To do that, visit the properties tab and scroll down until you find the screen1 text box. Remove the text and type Mobile News.
Step 3. Now I will insert some buttons and I will their names to cellphone companies. To insert the buttons, user interface and select button, drag and drop that into the emulator section. Also, visit the properties tab of each button and change the name to the cellphone companies.
The whole idea of the buttons are, when a person clicks on the samsung, it has to give the complete information about samsung. The same goes with the two others.
Create the Second screen
To create a new screen and insert all the information about the Samsung. To do that follow the below steps:
Step 1. Select Add screen and Create a New Screen. If you can not find it, look under the join the community.
Step 2. Under the User Interface on the layout tab, select horizontal line and drag that on the Screen.
Step 3. Now you have to cover the complete window with the horizontal line. To do that, on the properties tab of horizontal line select height, then choose fill parent. Do it the same for width.
Step 4. Once Again visit the user interface tab, scroll down and select web viewer, drop that on the screen.
Step 5. Visit Wikipedia and find information about Samsung. Copy the URL of the page and paste that into the Home URL of Web viewer. Do the same for other companies like Apple and HTC.
Blocking All the Screens
Step 1. Click on the blocks and make you are on the screen1.
Step 2. Select button1, then select the first block. For better understanding have a look at the screenshot.
Step 3. Under the blocks on the blocks select control and select open another screen.
Step 4. Now select text from under the blocks and select the empty block. After that, You have to type the name of the screen on the empty box. In this case, the screen1 is Samsung, I will type that.
Step 5. Do the same for other two buttons too, or just duplicate these two blocks and change the information.
Testing & Exporting the App
Before exporting the app you have to test the app on your system on your mobile. To do that follow the below steps:
Step 1. Download and Install thunkable App on your mobile.
Step 2. Visit the browser on your computer, select test and chose any of the options, like thunkable live or USB Connection. Mostly many people are using the thunkable live option because that is easy. If you had any problem with the connection chose reset connection or Hard reset.
Step 3. Once You have selected the thunkable live, scan the QR code with your mobile and test the app.
Step 4. Once You have created the app, tested the app, it is time to export that. You have to decide yourself whether you are going to export that on the mobile directly by selecting the first option under the export. Or if you want to export that to your computer select that second option under the export.
I have already exported the app and installed it on my self-phone. By the way, if you want to install the app on your cell phone, you have to turn on the developer options and unknown resources.
Download the App which I have created in this article.
Conclusion:
This was all about on How to create App without Coding for Android & iOS? I hope this article will help you to create your first App, Again If you didn’t understand watch the video or visit the Forum. If you have any idea or suggestion Please comment on the article.
Watch out the video


Nice video explanation. Your video let me understand this easily