In this tutorial we are going to show how to create animated web banner in Adobe Photoshop CC. By the end of this tutorial you will understand all the standard sizes of web banner, using motion blur and some other great techniques.
Creating Animated Web Banner in Photoshop
First lets take a look to the below image to understand all the standard sizes of web banners, so I am going to use the (468×60) size for my project.
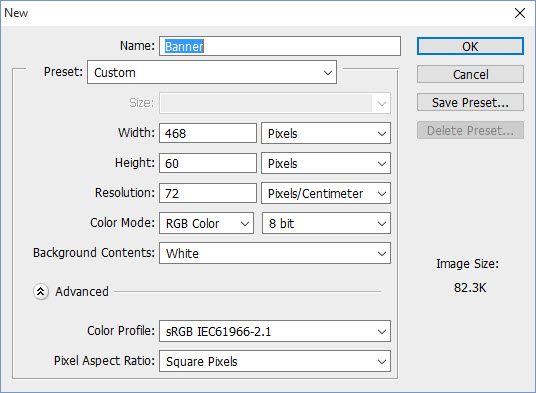
Step 1: Open new document by (468×64).
Step 2: Open timeline panel from Window>Timeline and it will appear at the bottom of Photoshop interface, like bellow, click on triangle button, you have two choice (Create video Timeline and Create frame animation) you should select frame animation and click it to create frame.
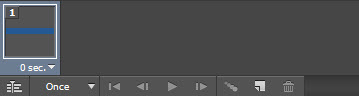
Step 3: After creating frame animation your panel looks like the image down, there is some options and keys, like Convert to video Timeline, Looping option, Duplicate frame, Play and puss buttons and Delete Frame.
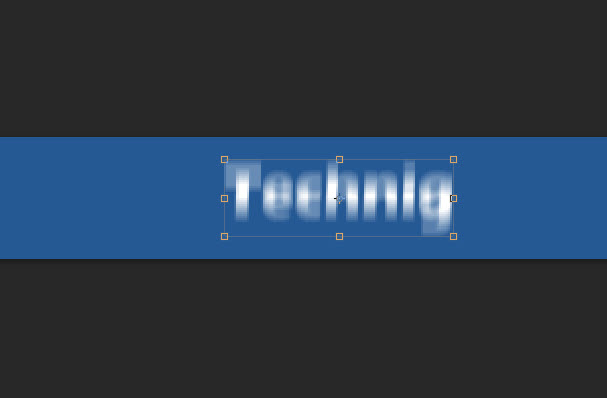
Step 4: Now pick the type tool and write a word, I write Technig and use (Eras Bold ITC) font, you can use any text and font, align the text to center,it is very important to use a good and readable font.
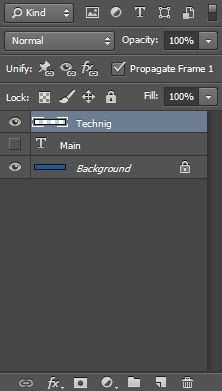
Step 5: So duplicate the text and hide and rename it to main than hide it. than rasterize the other one.
Step 6: It is time to start animating the text, be careful on Timeline there is a lite complicated, the thing you should care about is frames and layers, in each frame you can show or hide any layer you want, if you do not want to show a layer just select the target frame and hide the layer you want, and be sure when you duplicate a layer it will appears on all frames, it is so easy to solve the problem just select the first frame and hide the layer that be appear on all frames and select another frame and visible the layer you want.
Step 7: Again duplicate your text layer that was rasterized and apply motion blur from Filter> Blur> Motion Blur, set the angle 90o blur amount 12 px.
Step 8: Now move your duplicated text out of the document and create new frame and move your text down by pressing and holding Shit+ Down Arrow key two times, and than create another frame do the same process till your text get to the original position.
Step 9: Again create new frame and hide the layer that applied motion on it and visible the Technig layer like below.
Final Step: It is time to save it for web, go to File> Save For Web and select the option like me as below.
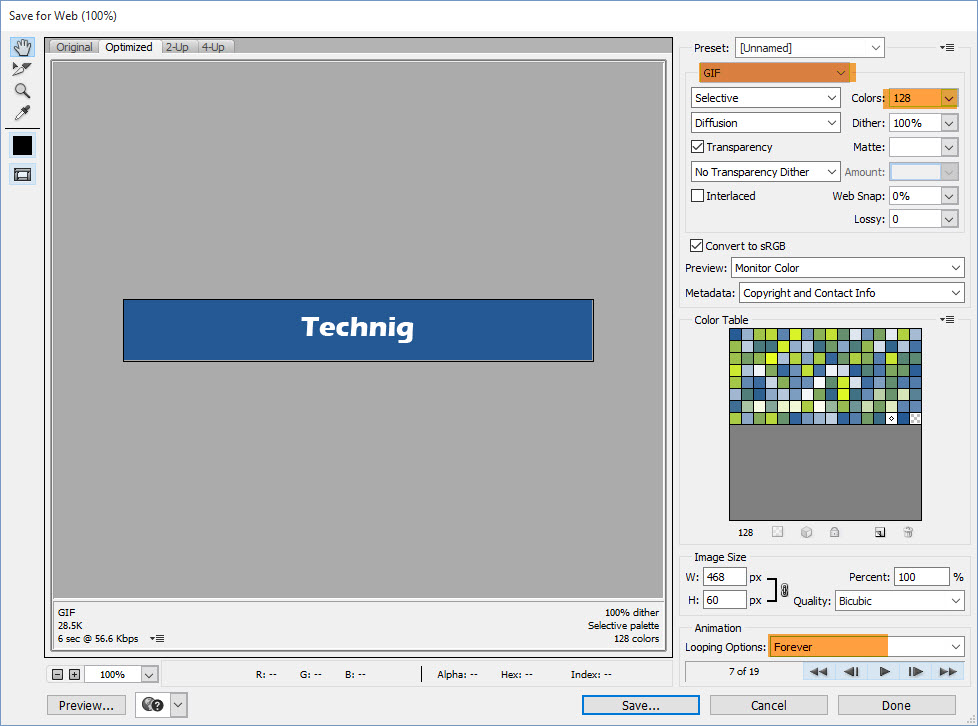
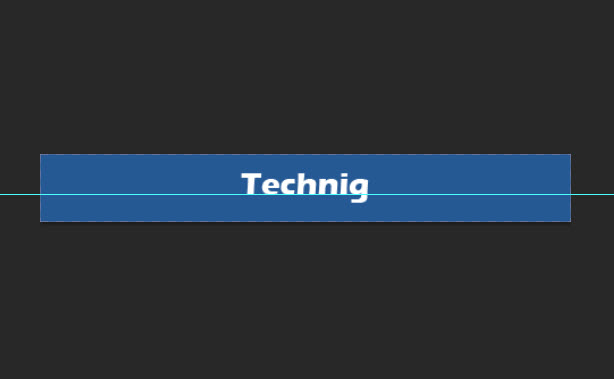
Your final web animated banner must be like below banner. Try to create more and more to get better in creating animated banner in Photoshop.
Hope you fine this article helpful to create your web animated banners for ads and other designing purposes.