A child domain is a subdomain of another domain in a tree which we call the parent domain. In the active directory hierarchical structure, the subdomain segmentation helps partition the active directory into smaller segments. It is useful when we have a sub-business design and geographical differences. Put it another way, if, for example, company.com is a domain, we can create a subdomain CA.company.com for that larger domain. This subdomain has its own domain controller and administrative boundary for its users and computers. With this brief illustration in mind, this article aims to cover how to create a child domain in Windows Server 2022 with a step-by-step approach and visual illustration.
Steps to Create a Child Domain in Windows Server 2022
To create a child domain, we need to install the Active Directory Domain Services (AD DS) role on our Windows Server 2022 Machine. Then, following its post-installation task, we create a child domain in an existing domain. Thus, to keep the article simple and easy to understand, we will accomplish the abovementioned two processes in two separate sections. First, we will install the AD DS role in our Windows Server 2022. Then, we will go through the post-installation process and create our new child domain.
To install AD DS and create a forest using Windows PowerShell, read Install Active Directory On Windows Server 2022 Using PowerShell article.
Install AD DS role in Windows Server 2022
To install the AD DS role using Server Manager, follow the steps below.
- Open the Server Manager from the Start Menu.
- On the Server Manager console, click on Manage and select Add roles and features.

- Click Next on the first window.
- Choose the first option on the Installation Type window. Click Next afterward.

- Select the server on which you install the AD DS and click Next.
- Check out the Active Directory Domain Services checkbox on the Server Roles window. Then, click on Add Features button on the pop-up window. Finally, click on Next.
- Let the Features window as its default, and click Next.
- Likewise, click Next on the AD DS window.
- On the Confirmation window, check out the Restart Server option, so it restarts the machine automatically if it needs to. Then click on the Install button. Wait for a few moments until it finishes the installation process.
- In the last step, once the AD DS installation completes, click on the Close button to close the window.
To this point, we have installed the AD DS in our Windows Server 2022 Machine. Now, let’s move forward and go with the post-installation tasks and create our child domain.
Create a Child Domain in Windows Server 2022
Now that we have installed the AD DS role in our Windows Server 2022 machine, we can create a child domain in its post-installation task. Follow the steps below to do so.
- On the Server Manager console, click on the flag notification. Then, click on Promote this server to a domain controller option.
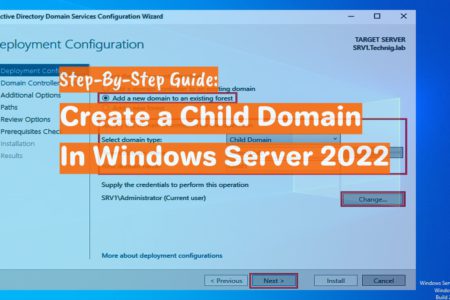
- On the Deployment Configuration window, check out the Add a new domain to an existing forest option. Select the Child Domain as illustrated in the below picture. Then, enter the parent domain name in the relevant box, or use the Select button to select from the existing domains. Finally, enter the Child Domain Name in its relevant textbox. The child domain name must be single-labeled. Use the Change button to change the credential if needed. Once everything is set, click on Next.
- Set the Domain functional level and Global Catalog settings. Then, provide the DSRM password and click on Next.
- Click Next on the DNS Options window.
- Verify the NetBIOS name and click Next to continue.
- Set the AD DS database and other files’ paths or leave it as its default. Click on Next afterward.
- Read the details of your setting on the Review Options window. If everything is set correctly, click on Next to continue.
- Click on Install on the Prerequisite Check window once it has passed the requirements. Wait for a moment until it finishes the installation task. It automatically restarts during the installation operation.
That is it! We have created our child domain throughout the above steps.
Conclusion
To sum up this article, we first explained briefly what a child domain is and where we use it. Then, we discussed the steps to install Active Directory Domain Services in Windows Server 2022. Finally, in a separate section, we promoted the server to a domain controller and created the child domain.
We are happy to be effective throughout our articles. Please do not hesitate to share your thoughts and questions in the comment section.
