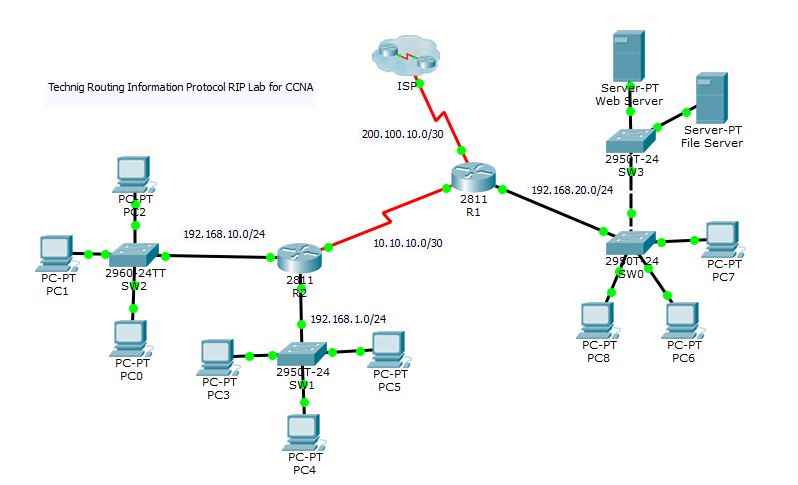
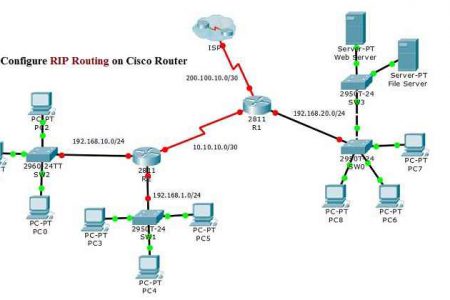
Today I’m going to show you, how to configure Routing Information Protocol (RIP) on the Cisco Routers. The RIP is one of the oldest distance-vector routing protocols and work perfectly with IPv4. The next generation of routing information protocol for IPv6 is know as RIPng (RIP next generation). So in this article we are going to test the RIP with IPv4.
It would be good if you have a physical Cisco lab for testing RIP, otherwise you can use GNS3 , Cisco Packet Tracer or equivalent network simulator software. Here I’m using packet tracer and the Cisco RIP routing lab I have created is downloadable from the below link. Just download and configure the basic routing with the IP addresses which assigned for each router interfaces. It help your to practice some basic router commands also. I’m sure you can do it, but in case of requiring some help, read the basic router commands from this post.
Downlaod the non configured Routing RIP Protocol lab that need basic configuration and this one Routing RIP Protocol – CCNA Lab -Ready for RIP Lab for CCNA is configured with basic and essential configuration.

Configure Routing Information Protocol (RIP)
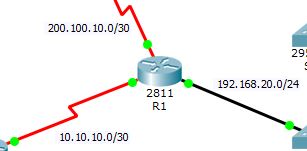
So let’s start configure routing information protocol in this lab. Go to your lab and open the router 1 (R1) which is the main router connected to ISP router. Do the following command for RIP Routing.
R1>enable
R1#configure terminal
Enter configuration commands, one per line. End with CNTL/Z.
R1(config)#router rip
R1(config-router)#version 2
R1(config-router)#network 200.100.10.0
R1(config-router)#network 192.168.20.0
R1(config-router)#network 10.10.10.0
R1(config-router)#
After enabling router with enable command then go to privileged mode with configure terminal command. Now with router rip command, enable routing for all routers. The version 2 command, configure routing information protocol with version two. And next set all network id like the above network command. I have set all three network which connect directly to R1.

Now go to router R2 and configure routing protocol the same as router R1. On router 2 you must assign the network ids of all connected network the R2.
R2>enable
R2#configure terminal
Enter configuration commands, one per line. End with CNTL/Z.
R2(config)#router rip
R2(config-router)#version 2
R2(config-router)#network 10.10.10.0
R2(config-router)#network 192.168.10.0
R2(config-router)#network 192.168.1.0
R2(config-router)#
For ISP router, just enter the network id 200.100.10.0, because only one network connected to ISP router.
ISP>enable
ISP#configure terminal
Enter configuration commands, one per line. End with CNTL/Z.
ISP(config)#router rip
ISP(config-router)#version 2
ISP(config-router)#network 200.100.10.0
ISP(config-router)#
OK, your routing task with RIP is accomplished successfully, now all network devices can communicate with each other without any problem through routing information protocol. Test them with ping command and be sure they must ping correctly. If they are not ping with each other, so your routing has some problem. You should troubleshoot it. Here you can download my completed Routing RIP Lab project which work fine.
If you have any question, just ask me through comments. I will reply you as soon as possible.

Really I appreciate the way of presentation the teaching get material. I clutch up many points on this Web site
i am so satisfy & very Easy Teaching Tutorial Site …thanks of lot Admin ..Thank you so much
Please explain that, how to remotely configure Switch
Hello Shais,
Thank you for the well-described article.
I am unable to find the .pkt file.. can you please send it
Please, here is the download link.