How to Install Windows Server 2012 R2 Step by Step
A step by step guide to install Windows Server 2012 R2. Windows Server 2012 R2, was released along with Windows 8.1 in October 2013. A service pack, formally designated Windows Server 2012 R2 Update, was released in April 2014. Windows Server 2012 R2 offers exciting new features and enhancements across Virtualization, storage, networking, virtual desktop infrastructure, access and information protection, and more. This article is for those who are new in Windows Server 2012 R2.
To install Windows Server 2012 R2, you need DVD of Windows Server or Image. You can download from here and make a Bootable USB Flash drive. If you don’t know how to create a Bootable USB, read the article about How to Create a Bootable USB with Diskpart Command line Tool.
All you have to do now, Boot the system with DVD or USB. If the system ask you Press any key to boot…. just press enter and let Windows will boot.
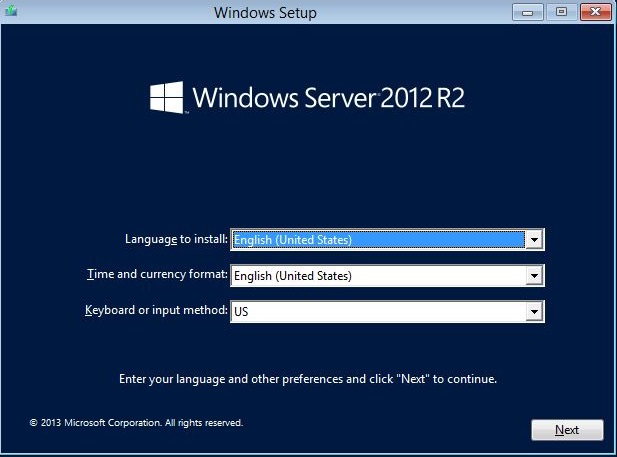
In this page select the system language and click next.
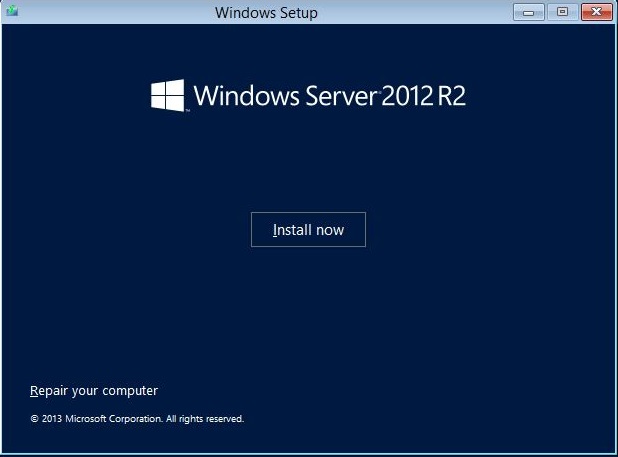
Now Windows ask you weather to install it or do troubleshoot? Click install now.
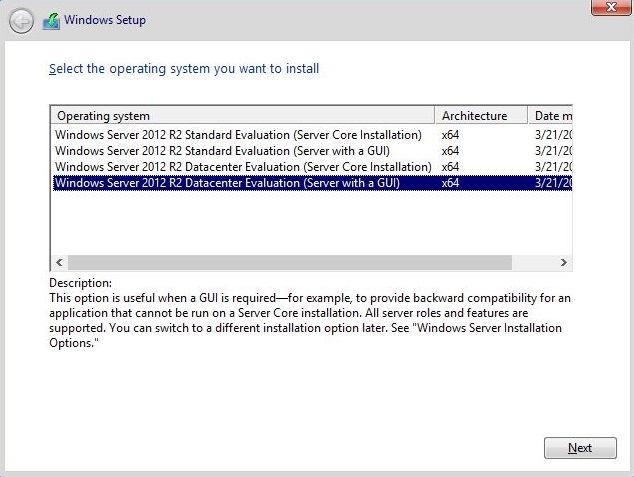
Now, choose which edition you want to install. Select Data Center with a GUI. This will install Windows Server with graphical interface.
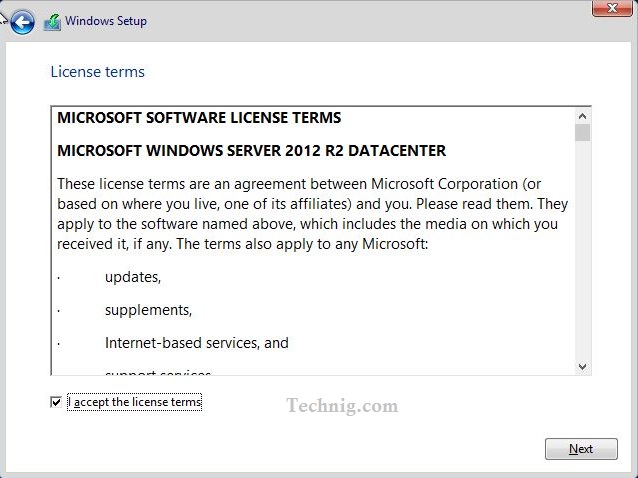
Accept the Windows license agreements and click next.
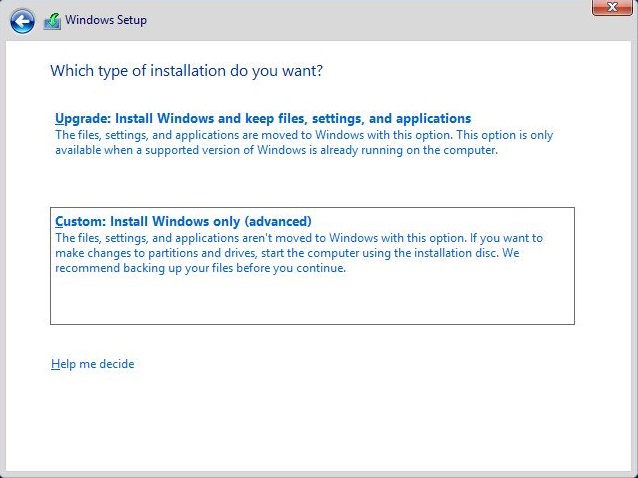
Select costume: Install Windows only (Advanced). This will let you to install a clear Windows instead of upgrade the old Windows.
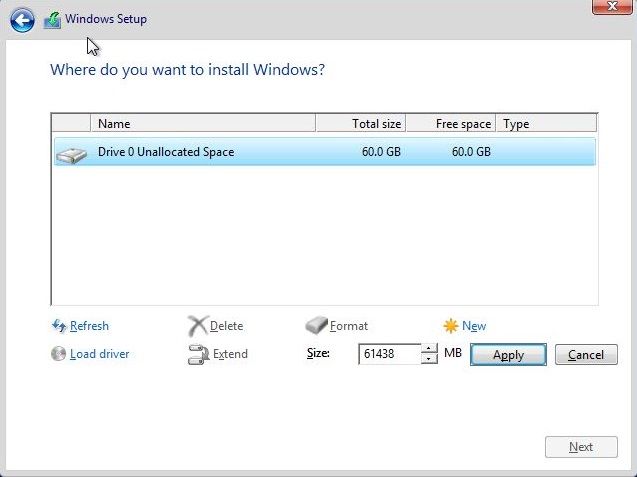
Now select the hard disk and click New to create a partition for System and Windows drive. Enter the size or capacity of Windows drive and click Apply button.
When ask you about to create a system reserved disk or additional partition for system files, click OK to create it.
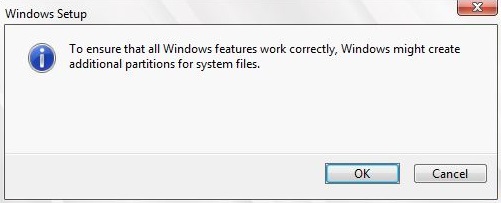
Note: System partition is preserve Windows boot files and help Windows load speedy and work quickly.
Now select the you want to install Windows and click next.
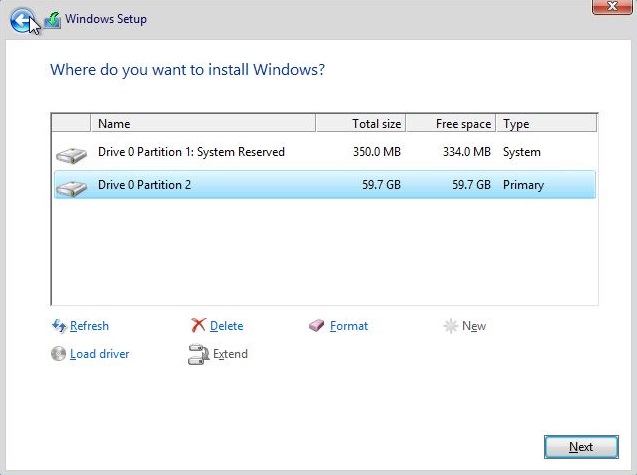
Windows will start installation.
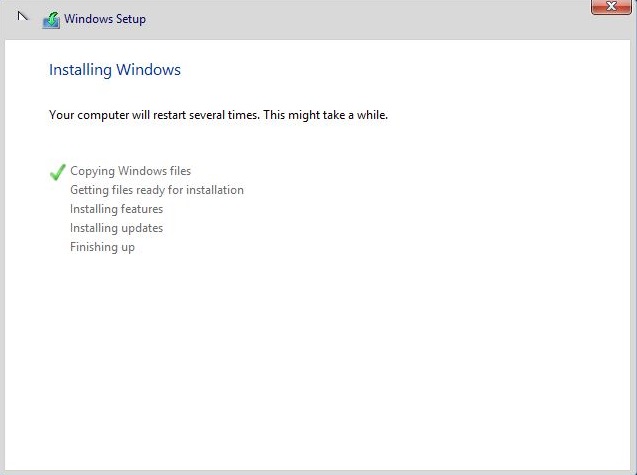
Wait until the installation will complete successfully.
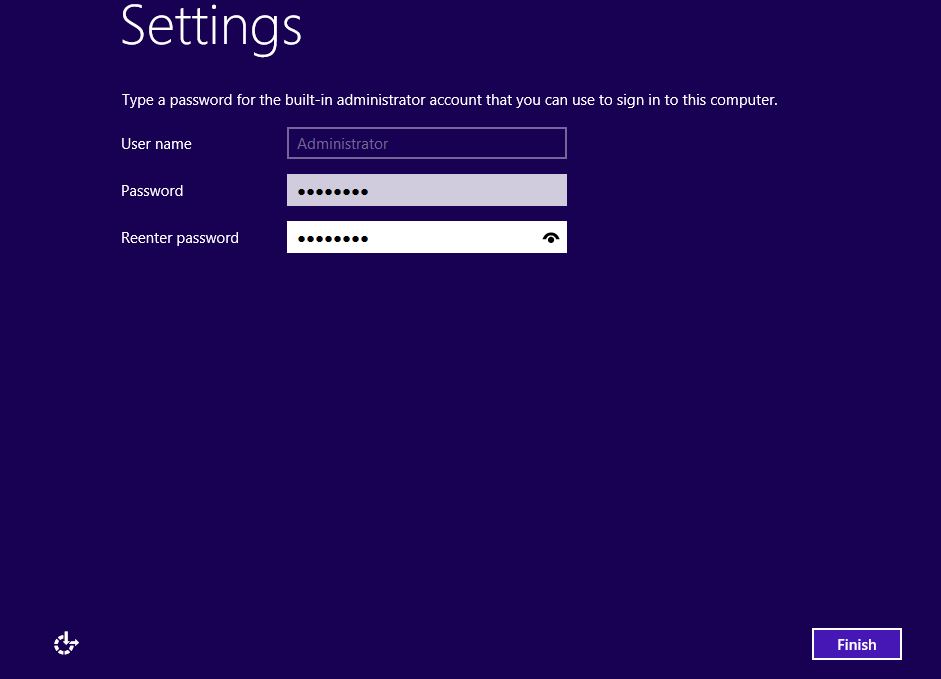
At the end of installation set a complex password for administrator and press enter.
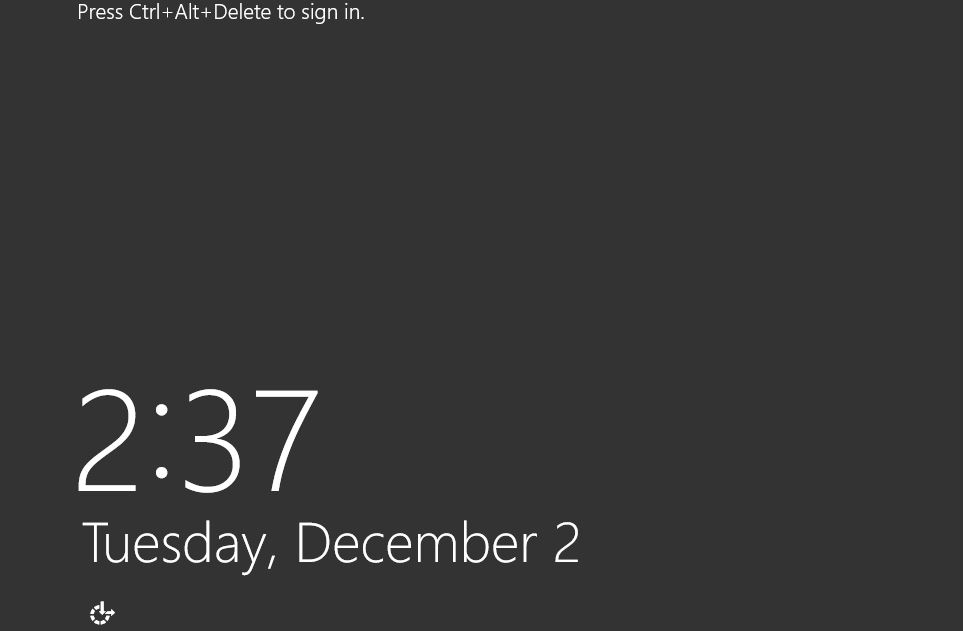
Press Ctrl+Alt+Delete and enter the administrator’s password to log in.

Now you must see the Windows Server 2012 R2.
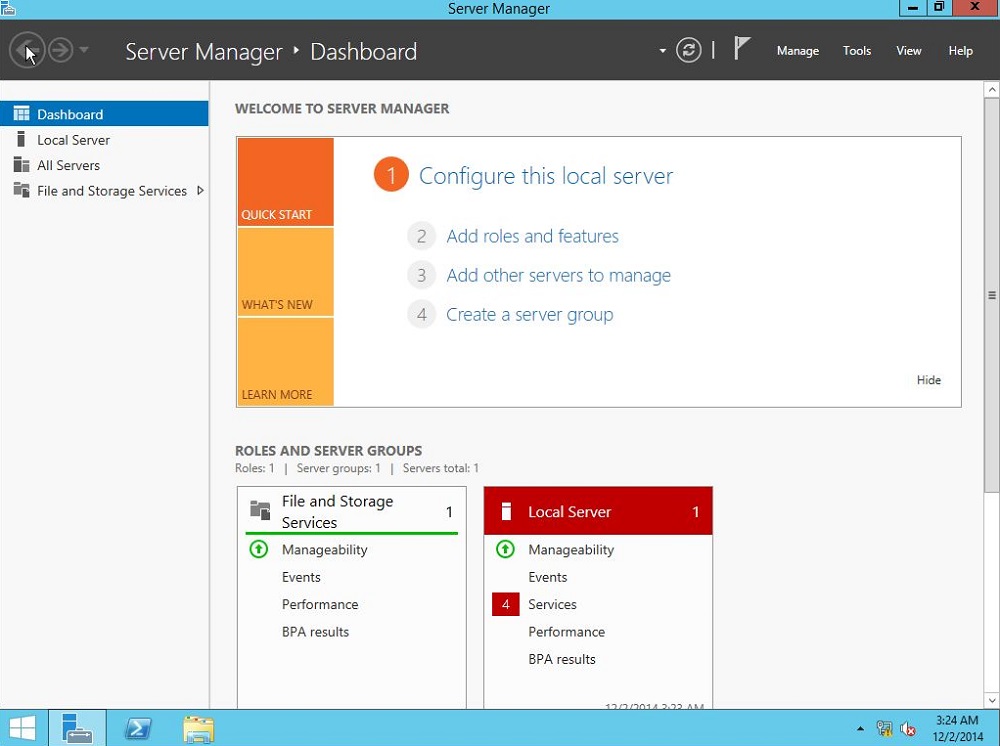
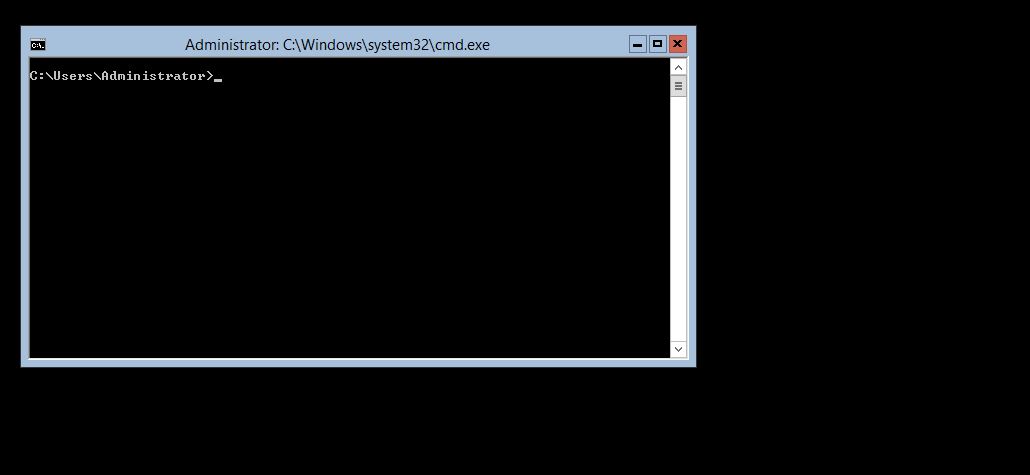
Note: Installation of Windows Server 2012 R2 with a GUI and Server Core are the same but when you log in to Windows Server core, you will see only a black desktop with a opened command prompt.
OK, hop you learn and do install Windows Server to your own system without any problems.

it was such a great article.
i will try my level best to follow all the articles.
thank you for your nice article
it was such a great article!
i will try my level best to follow all the articles.
thank you for your nice article
Very useful article for beginners like me.
Will definitely follow all others.
Thank you again Sir.