How to Configure Windows Remote Assistance in Windows 10?
In a network, the best way to fix the client Windows problem is by using Windows remote assistance. A technical support person can always easily help the client computers remotely using Remote Assistance. The Windows remote assistance is not good enough for WAN but suitable remote control tools for inside the network.
Here I’m trying to set up and configure Windows remote assistance between tow system using Windows 10 and Windows 8.1. If you need to know more about Windows remote assistance ability and functions, visit the official page of Windows Remote Assistance to Microsoft website.
Configure Windows Remote Assistance
To configure remote assistance in Windows 10, simply type “Sysdm.cpl” on the Windows Run then press enter to open the system properties.
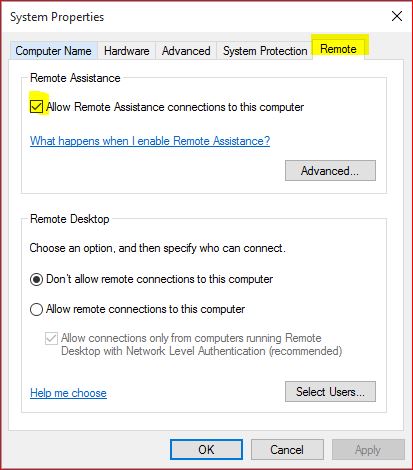
Now on the System Properties select Remote tab and check the RA to enable it. Then click OK to applying the changes. In Windows, by default, the RA is enabled and need to be the firewall of RA.
In order to enable RA to communicate through the network, go to control, Windows Firewall, click “Allow an app or feature through firewall“.
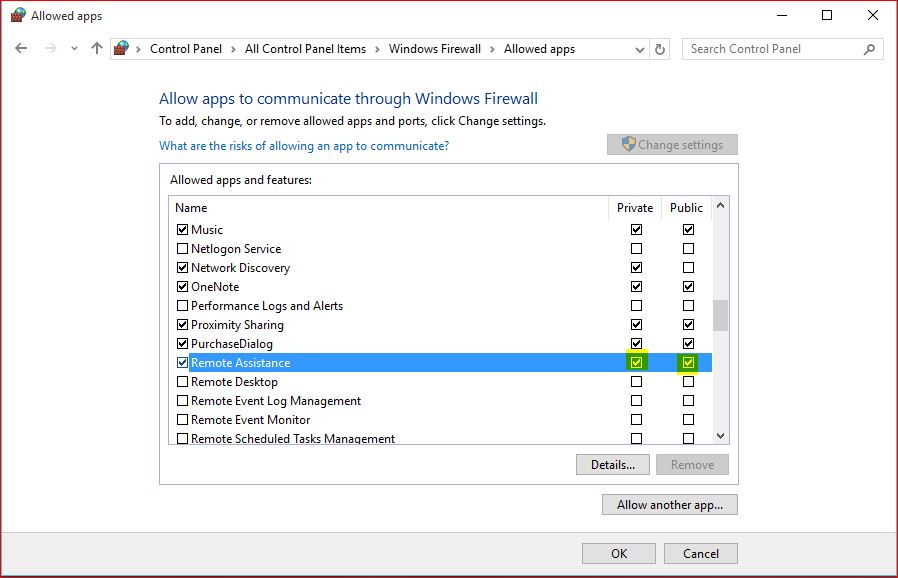
Now click Change settings then select Remote Assistance and select both Private and Public.
So the remote assistance has been enabled successfully. Now try to send an invitation to a trusted person or technical support person to help you.
- Go to Control Panel, System and Security, under System click Lunch remote assistance or type “msra” to the run. Both work the same but the command is short and easy.
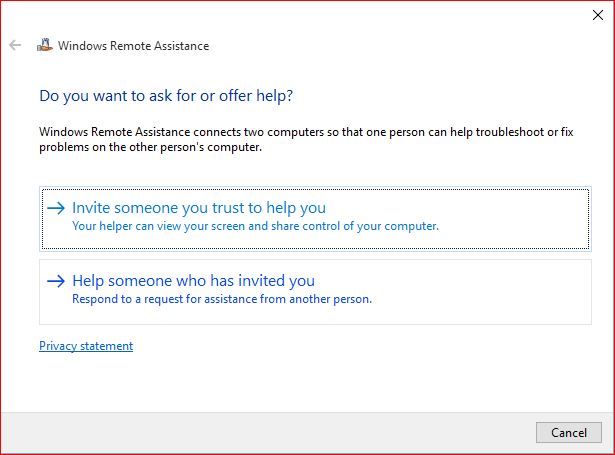
2. On the Windows Remote Assistance page click Invite someone you trust to help you.
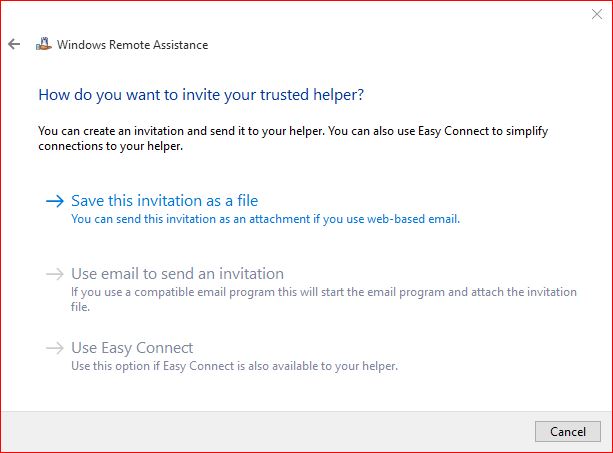
3. Click Save this invitation as a file. I have saved this file to a network shared folder.

4. Send this password for the trusted person with invitation file…
OK, the configuration has finished on Windows 10. Now try to connect to this PC from technical PC.
Related article: How to Enable Remote Desktop on Linux?
Go to technical PC and open the invitation file from the shared folder.
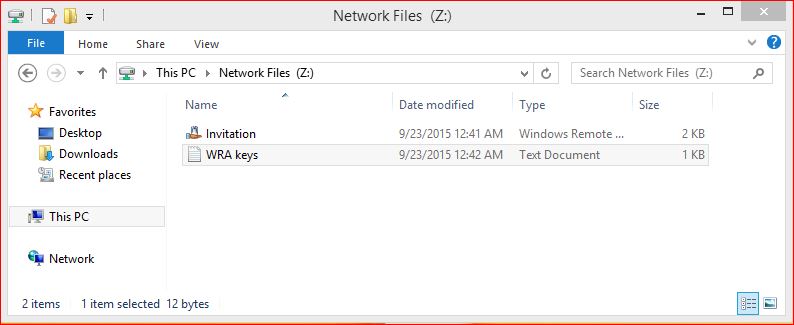
You see the Invitation file and saved password to a text file. Click to open the invitation and enter the password to connect to Windows 10.
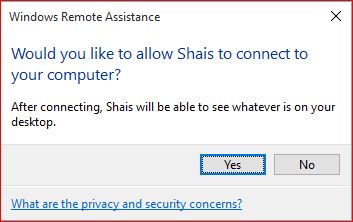
Now on Windows 10, you have received a message. Just click Yes to allow technical PC to connect to your PC.
Windows 10 Remote Assistance
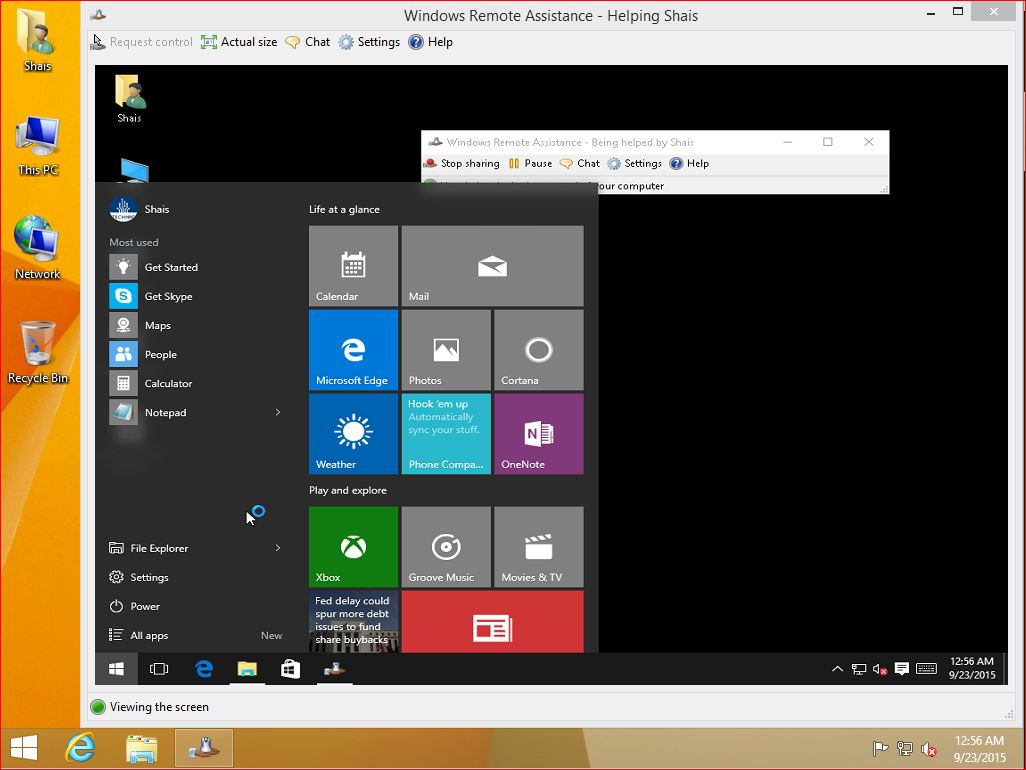
Finally, you are connected to Windows 10. You can control the Windows 10 remotely.

For windows 10 helpline feel free to contact us on our windows 10 help number. or visit our website
If you’ve tried everything else…. Make sure that Network Security: Configure encryption types allowed for Kerberos has at least RC4_HMAC_MD5 selected…